
Screen Capture Settings
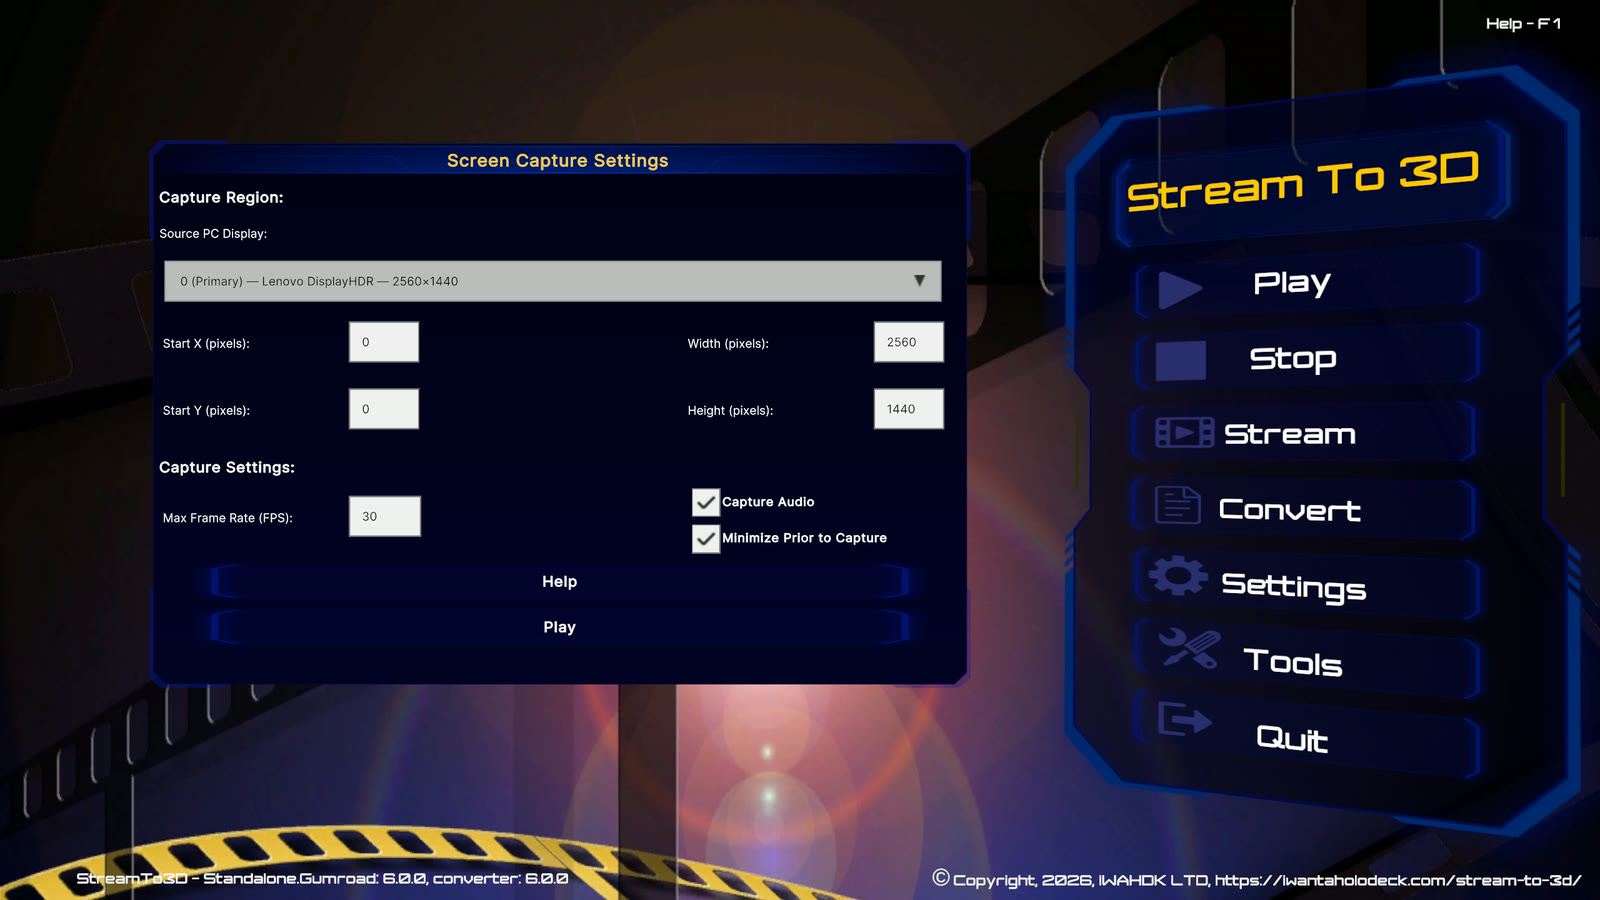
Screen Capture Settings is shown when you use a screen-capture Live Source with Play, Stream or Convert. It controls which part of your Windows desktop is captured and what Stream to 3D should do when capture begins.
Open Screen Capture Settings
- Choose Play, Stream or Convert.
- Select Live Sources in the source browser.
- Select
Screen Capture.s3dscor another screen-capture Live Source. - Continue until Stream to 3D displays Screen Capture Settings.
Capture region
Select the Windows display you want to capture. Stream to 3D initially fills the width and height from the selected display.
- Start X and Start Y set the top-left corner of the captured region.
- Width and Height set the size of the region in pixels.
- Leave the values at the selected display dimensions to capture the whole display.
Capture behaviour
- Max Frame Rate limits the capture rate. Start with 30 FPS unless your workflow requires another value.
- Capture Audio includes audio from the screen-capture Live Source.
- Minimize Prior to Capture prevents the Stream to 3D window from appearing in its own capture. This is especially useful on a single-display PC.
Choose the workflow button at the bottom of the dialog to continue. You can stop a live session from the main Stream to 3D controls.