Live Capture Source Creator
Need help? Start with User FAQ & Troubleshooting. See Logs & Diagnostics, Error Codes (LVE0xx), and Licensing & Activation.
If Screen Capture Recorder is missing: see Settings → Tools → Steam tools re-installation.
Live capture overview: PC Screen or Live Video Conversion to 3D.
This utility enables support for live video and audio sources, including specialised built-in support for capturing video directly from one of your PC displays via screen-capture-recorder and its audio companion, virtual-audio-capturer.
By optimising resolution, frame rate, and audio settings, you can also tailor Stream to 3D’s performance to match your hardware capabilities.
Step-by-step Guide:
1. Launching the Live Capture Source Creator
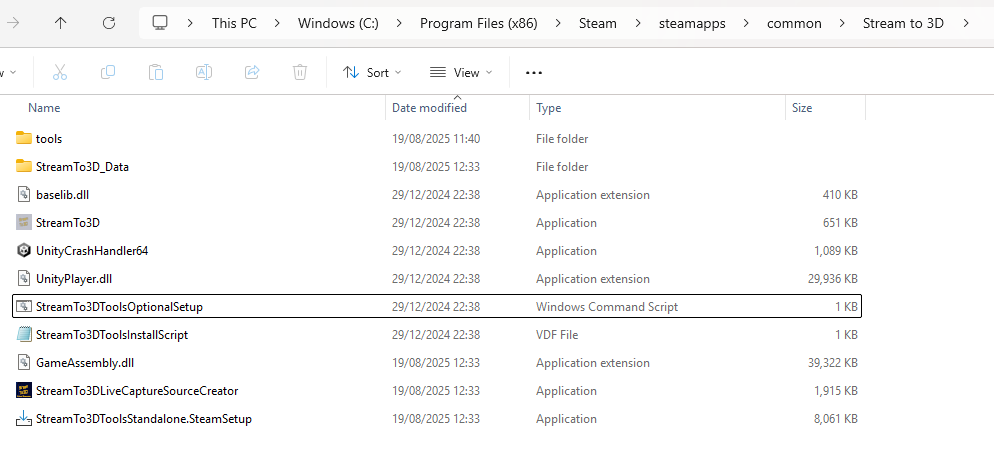
- Open the Stream to 3D Live Capture Source Creator from the main Stream to 3D application folder, as shown in the image below.
- For Steam store users, the application folder will be:
C:\Program Files (x86)\Steam\steamapps\common\Stream to 3D
- For Gumroad and Itch.io store users, the application folder will be:
C:\Program Files\StreamTo3D
- Recommendation: Create desktop shortcuts to both this utility as well as the main Stream to 3D application for easy access.
- The utility's Help menu or pressing F1 will take you back to this guidance if needed.

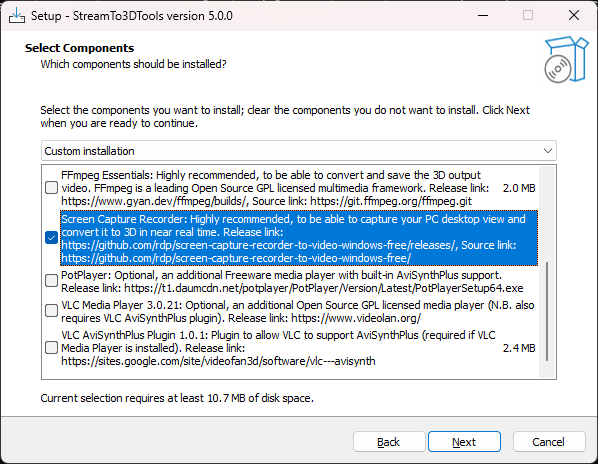
Important: If you are a Steam user who has upgraded to Release 5, you will also need to update your tools installation in order to add the Screen Capture Recorder tool so that you can use the Screen Capture to to 3D functionality. You can do this by running the tools installer here:
C:\Program Files (x86)\Steam\steamapps\common\Stream to 3D
Make sure to select Screen Capture Recorder, as shown in the screenshot below:
You will also find find the "StreamTo3DLiveCaptureSourceCreator.exe" in that folder.
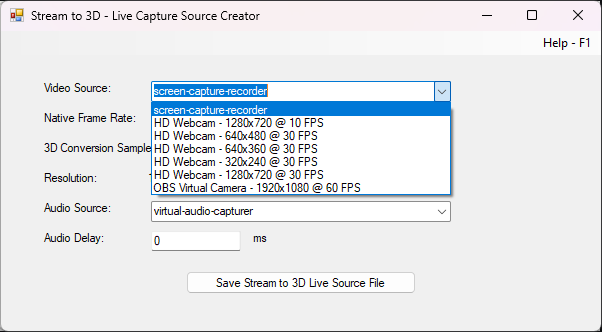
2. Selecting a Video Source
- From the Video Source dropdown menu, choose your desired source. Supported video source options include the PC Screen (via screen-capture-recorder), webcams, USB cameras and video capture devices. The devices that are presented will depend on those connected and enabled on your system (as DirectShow video and audio sources):
3. Video Source Characteristics
Upon selection, the application automatically populates:
- Native Video Frame Rate
- Video Resolution
For screen-capture-recorder, the current settings are displayed (as read from the registry) and marked as (current). These settings can be modified later within the Stream to 3D application. Other sources offer fixed resolutions and frame rates provided directly by the device hardware:
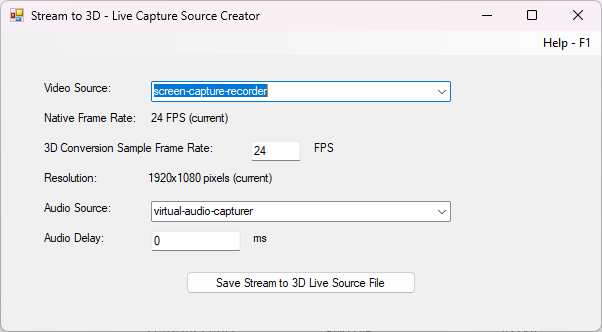
4. Configuring the 3D Conversion Sample Frame Rate
- The 3D Conversion Sample Frame Rate defaults to the native frame rate of your selected video source. You can adjust this value to improve performance if your hardware struggles at the default rate. A symptom of your system struggling with performance would include your converted 3D video playback appearing excessively fast due to dropped frames. In such cases, consider selecting a lower resolution or frame rate:
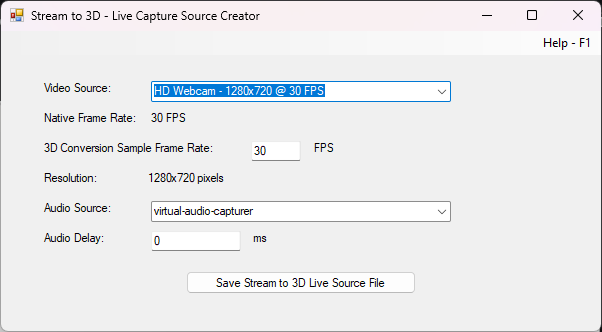
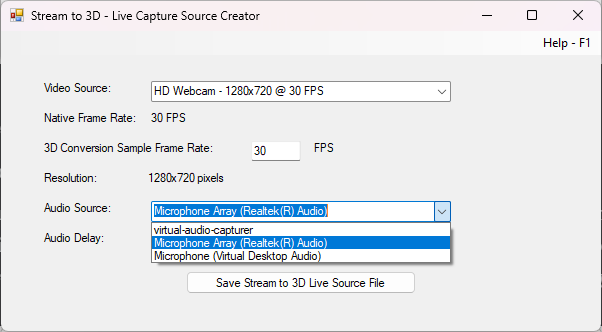
5. Selecting Audio Source and Delay
- Select your preferred Audio Source from the dropdown menu.
- If audio-video synchronisation issues occur, specify an Audio Delay (in milliseconds). This setting provides a permanent offset correction for the source. You can further adjust this within Stream to 3D later if necessary:
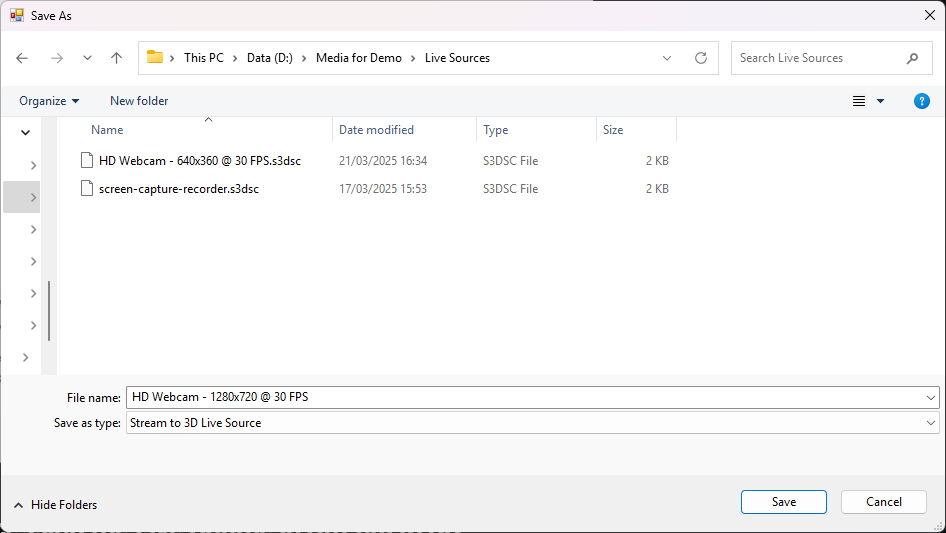
6. Saving the Live Source Configuration
After configuring your video and audio sources, click Save Stream to 3D Live Source File.
- Choose a destination and save your configuration file with the extension .s3dsc (set automatically).
- This file can be reused for future captures from the same source.
Go to full guidance on PC Screen or Live Video Conversion to 3D