Live Video/Screen Capture Sources and 3D Conversion

Introduction
Stream to 3D now supports 3D conversion from live video sources such as webcams, video capture devices, or video played on your PC screen. This capability is made possible through enhancements to the Stream to 3D application and the introduction of an additional utility, the Live Capture Source Creator. This utility generates compatible video source files, which Stream to 3D can then convert into 3D videos similarly to standard video files.
Live Capture Source Creator
The Live Capture Source Creator utility enables you to create and manage live 2D video sources for near real-time 3D conversion. It allows configuration of live video and audio sources, including specialised built-in support for capturing video directly from one of your PC displays via screen-capture-recorder and its audio companion, virtual-audio-capturer. By optimising resolution, frame rate, and audio settings, you can tailor Stream to 3D’s performance to match your hardware capabilities.
Getting Started
The StreamTo3DLiveCaptureSourceCreator application quickly and conveniently configures live video and audio capture sources, producing a file compatible with the main Stream to 3D application.
Step-by-step Guide:
1. Launching the Application
- Open the Stream to 3D Live Capture Source Creator from the main Stream to 3D application folder:

- Recommendation: Create desktop shortcuts to both this utility and the main Stream to 3D application for easy access.
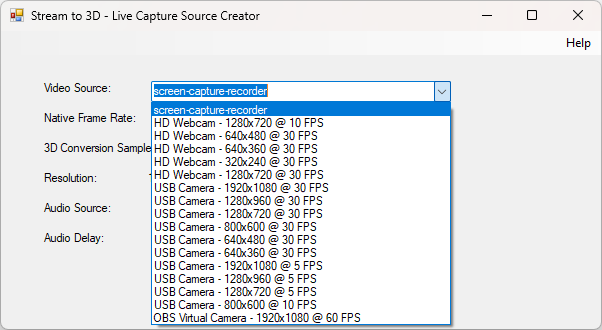
2. Selecting a Video Source
- From the Video Source dropdown menu, choose your desired source. Available options include webcams, USB cameras, and screen-capture-recorder (which has specialised support).
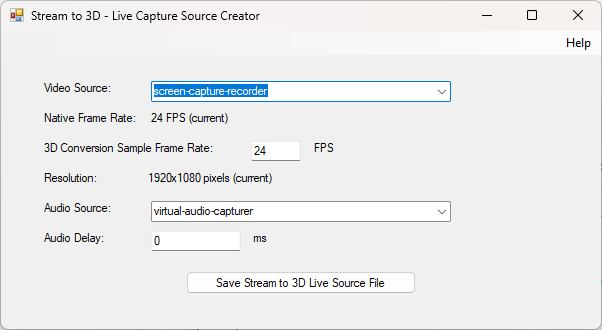
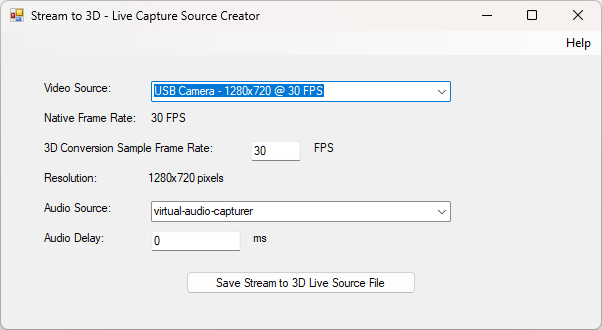
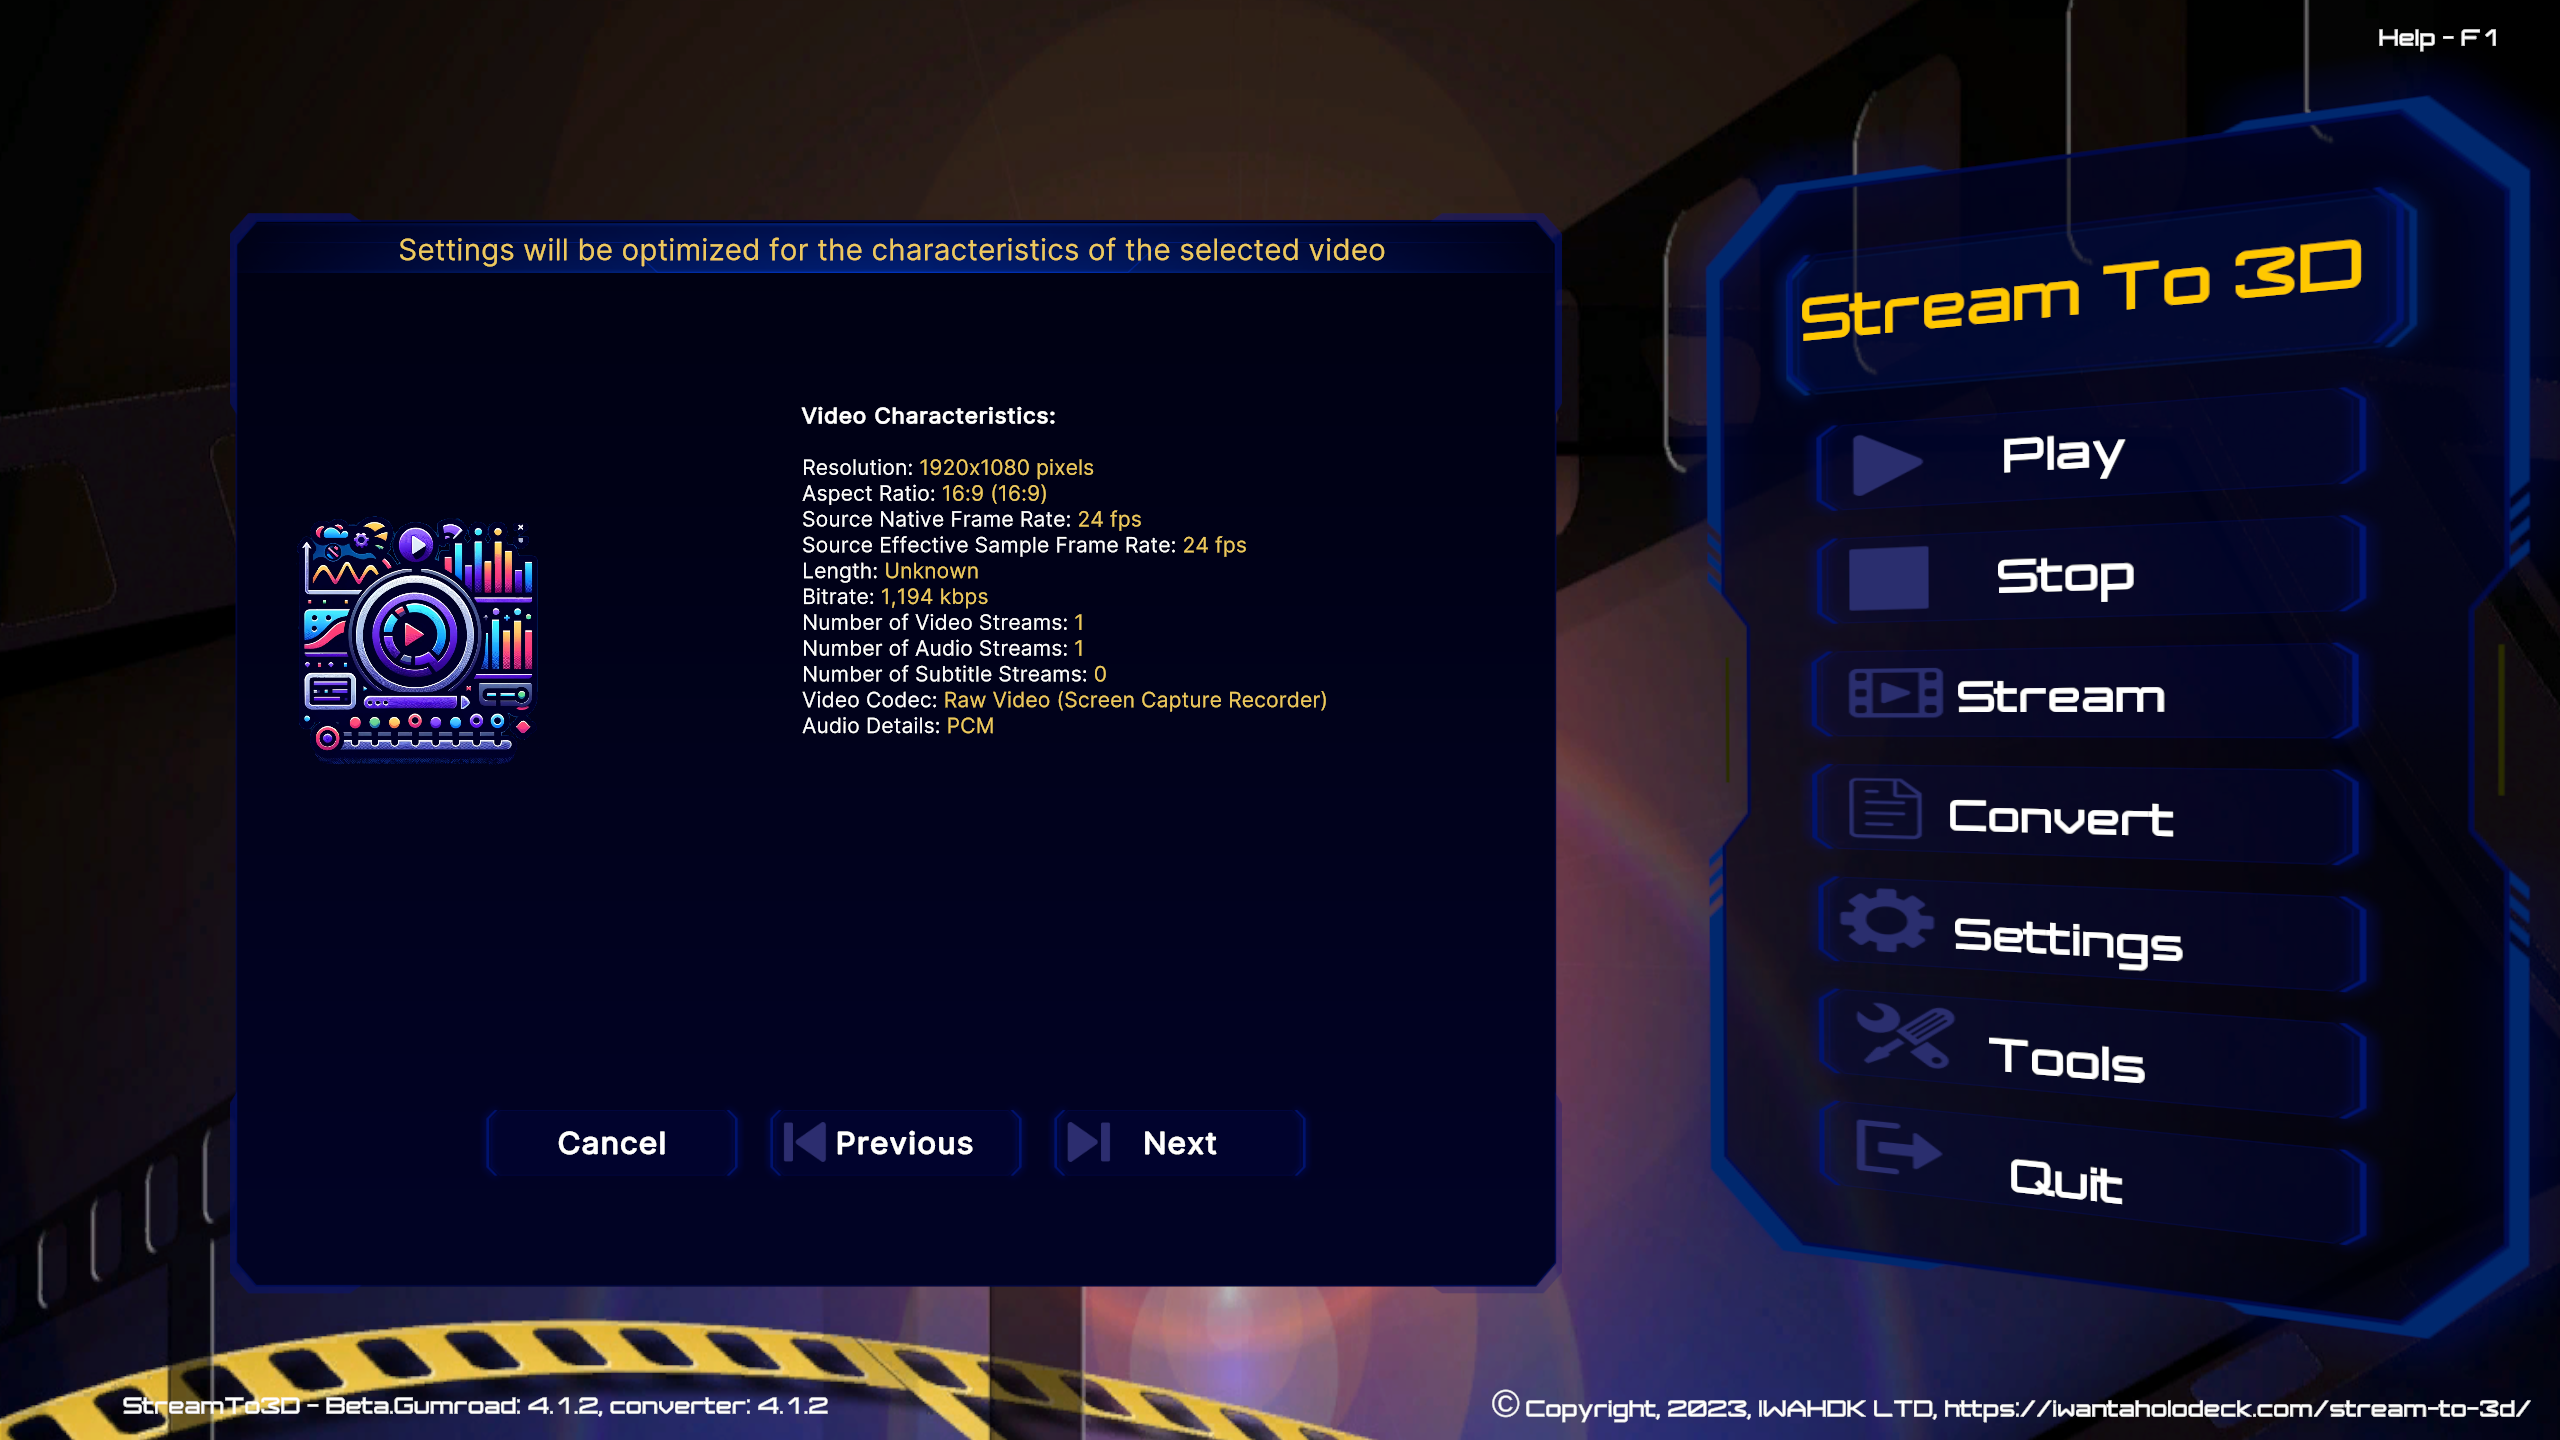
3. Video Source Characteristics
Upon selection, the application automatically populates:
- Native Frame Rate
- Resolution
For screen-capture-recorder, current settings are displayed (as read from the registry) and marked as (current). These settings can be modified later within the Stream to 3D application. Other sources offer fixed resolutions and frame rates provided directly by the hardware.
4. Configuring the 3D Conversion Sample Frame Rate
- The 3D Conversion Sample Frame Rate defaults to the native frame rate of your selected video source. You can adjust this value to improve performance if your hardware struggles at the default rate. A symptom of performance issues includes converted 3D video playback appearing excessively fast due to dropped frames. In such cases, consider selecting a lower resolution or frame rate.
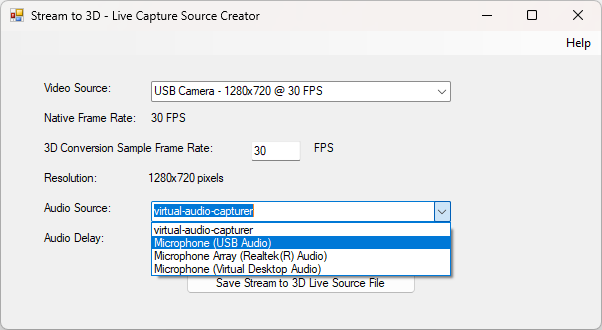
5. Selecting Audio Source and Delay
- Select your preferred Audio Source from the dropdown menu.
- If audio-video synchronisation issues occur, specify an Audio Delay (in milliseconds). This setting provides a permanent offset correction for the source. You can further adjust this within Stream to 3D later if necessary.
6. Saving the Live Source Configuration
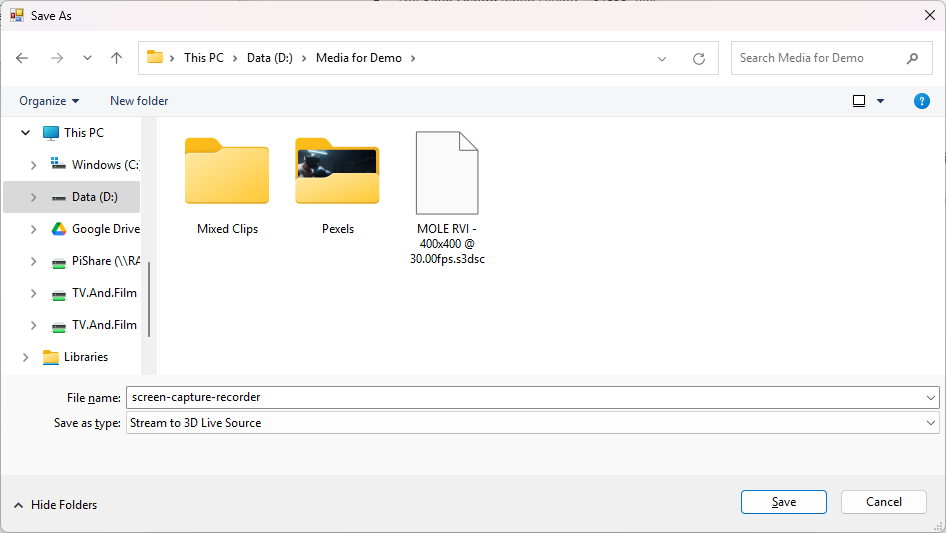
After configuring your video and audio sources, click Save Stream to 3D Live Source File.
- Choose a destination and save your configuration file with the extension .s3dsc.
- This file can be reused for future captures from the same source.
4. Processing the Live Source in Stream to 3D
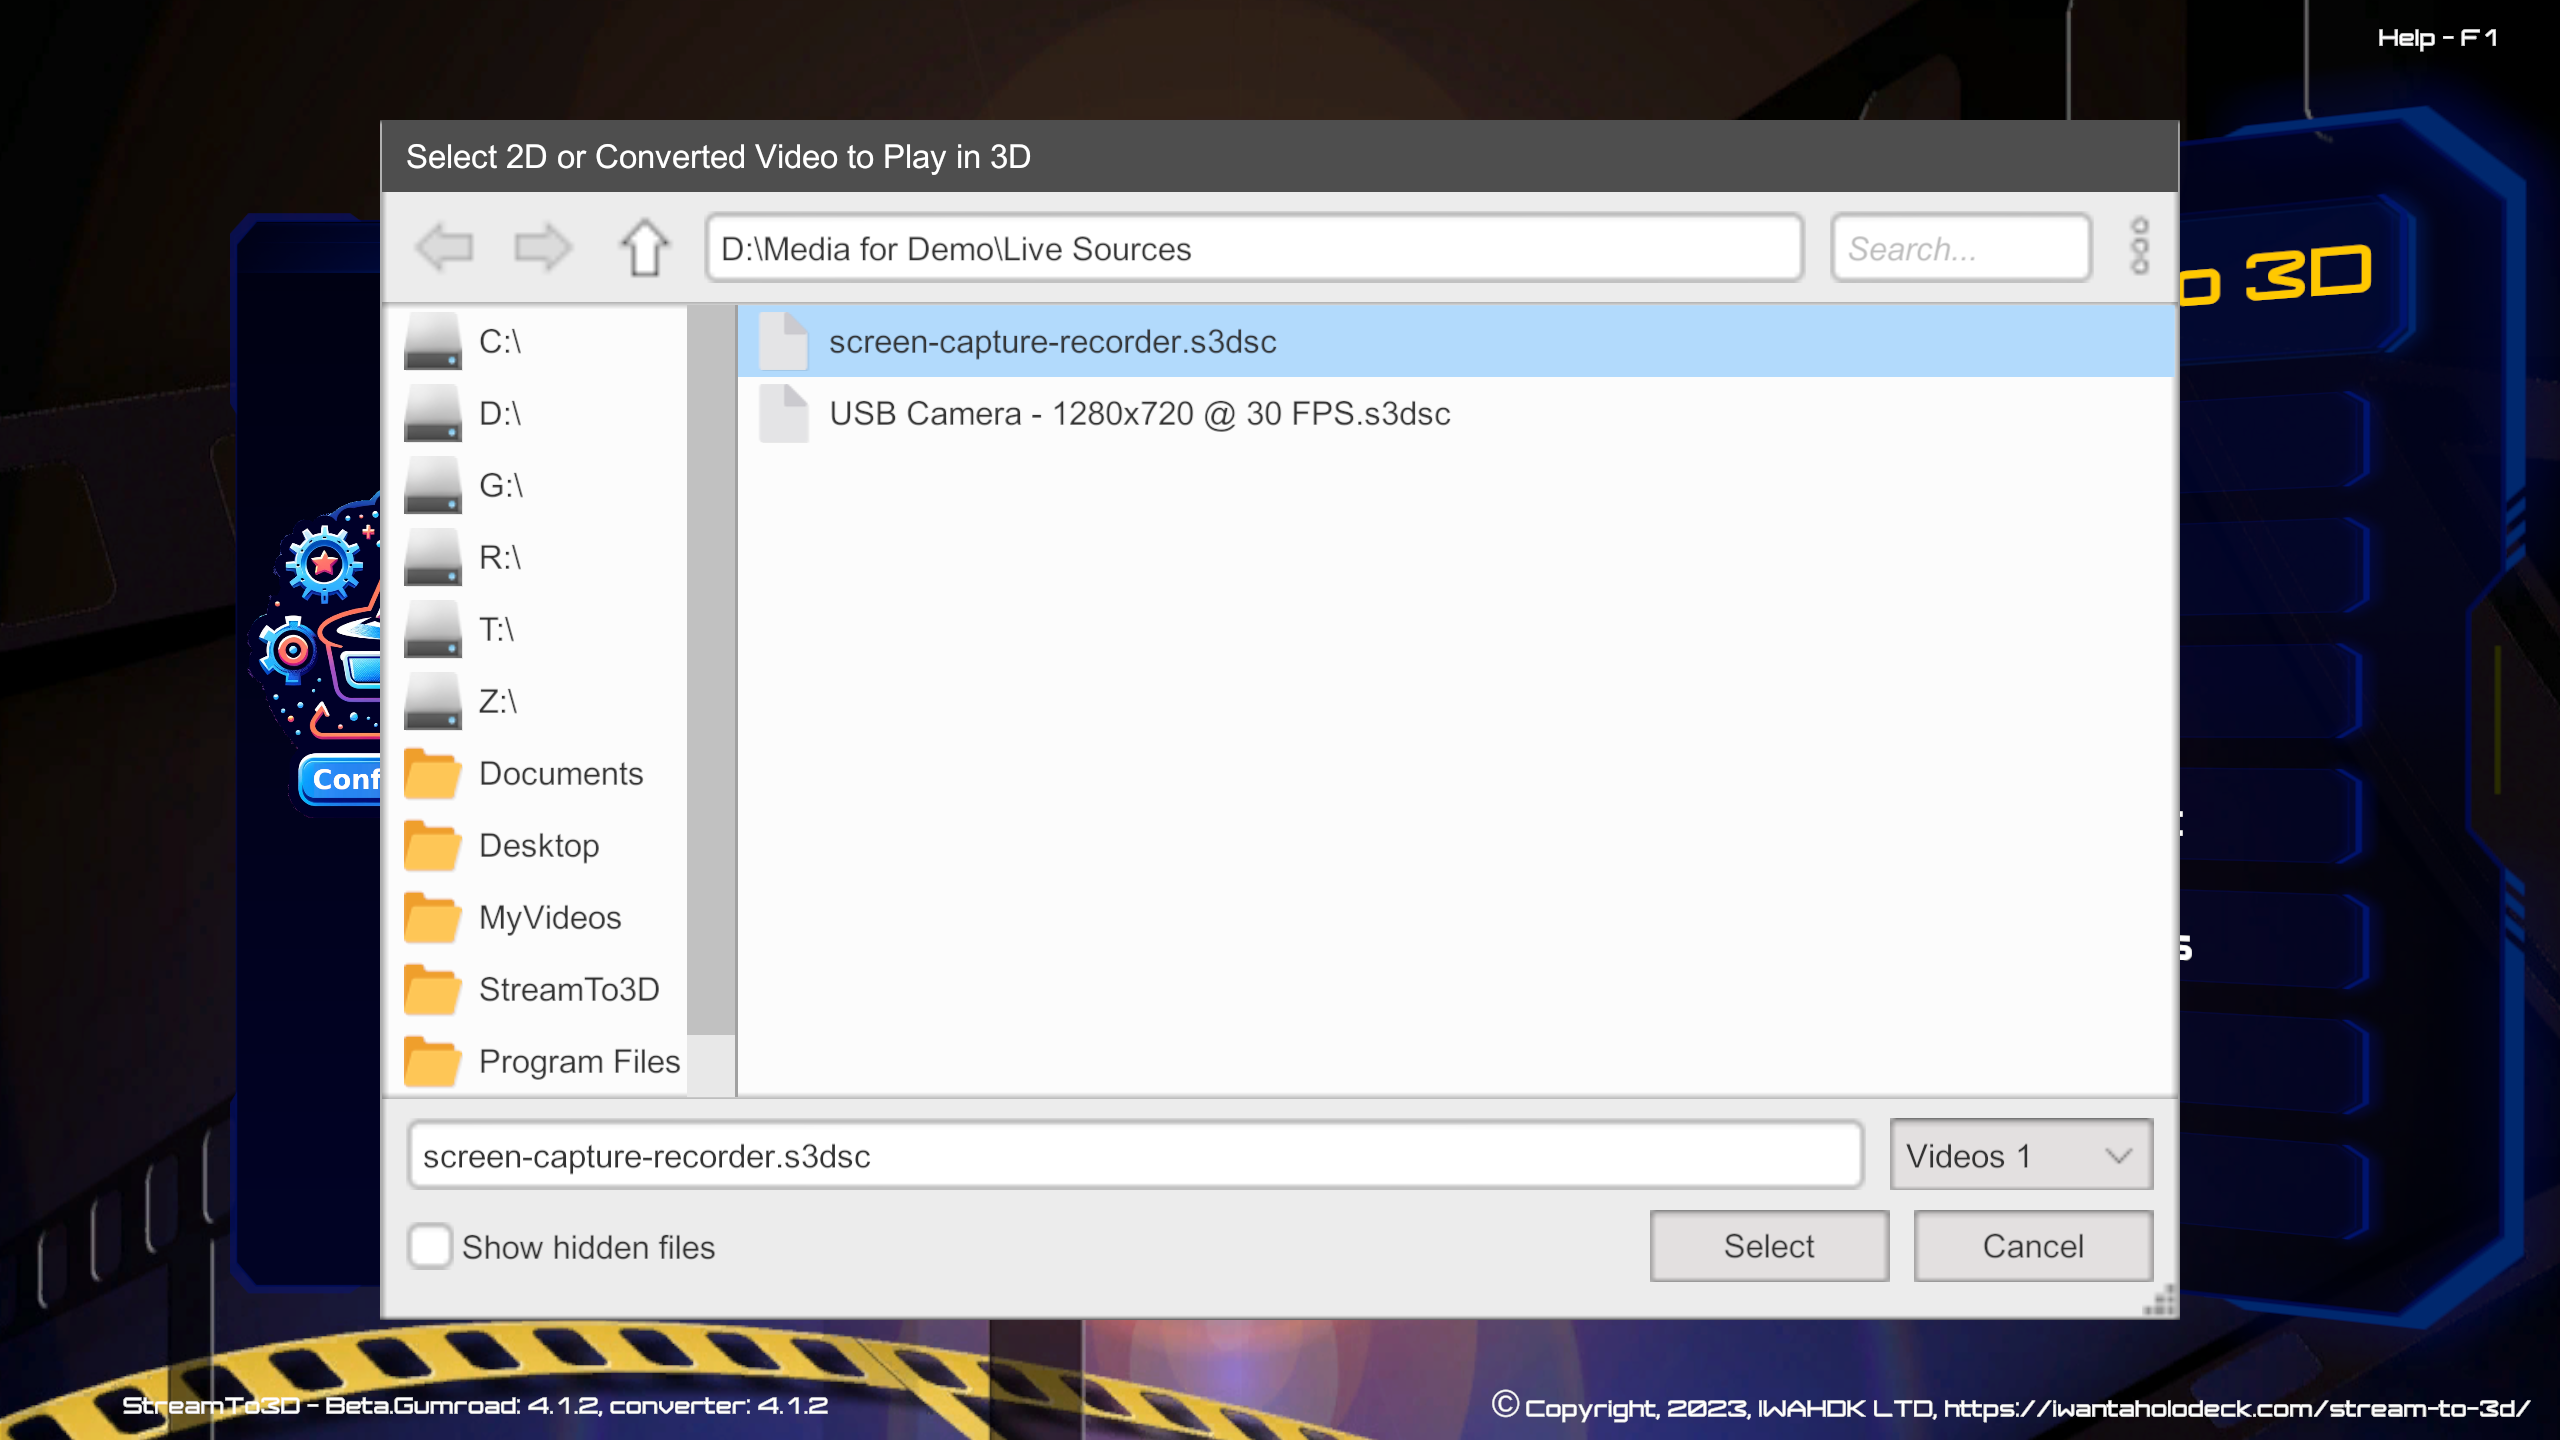
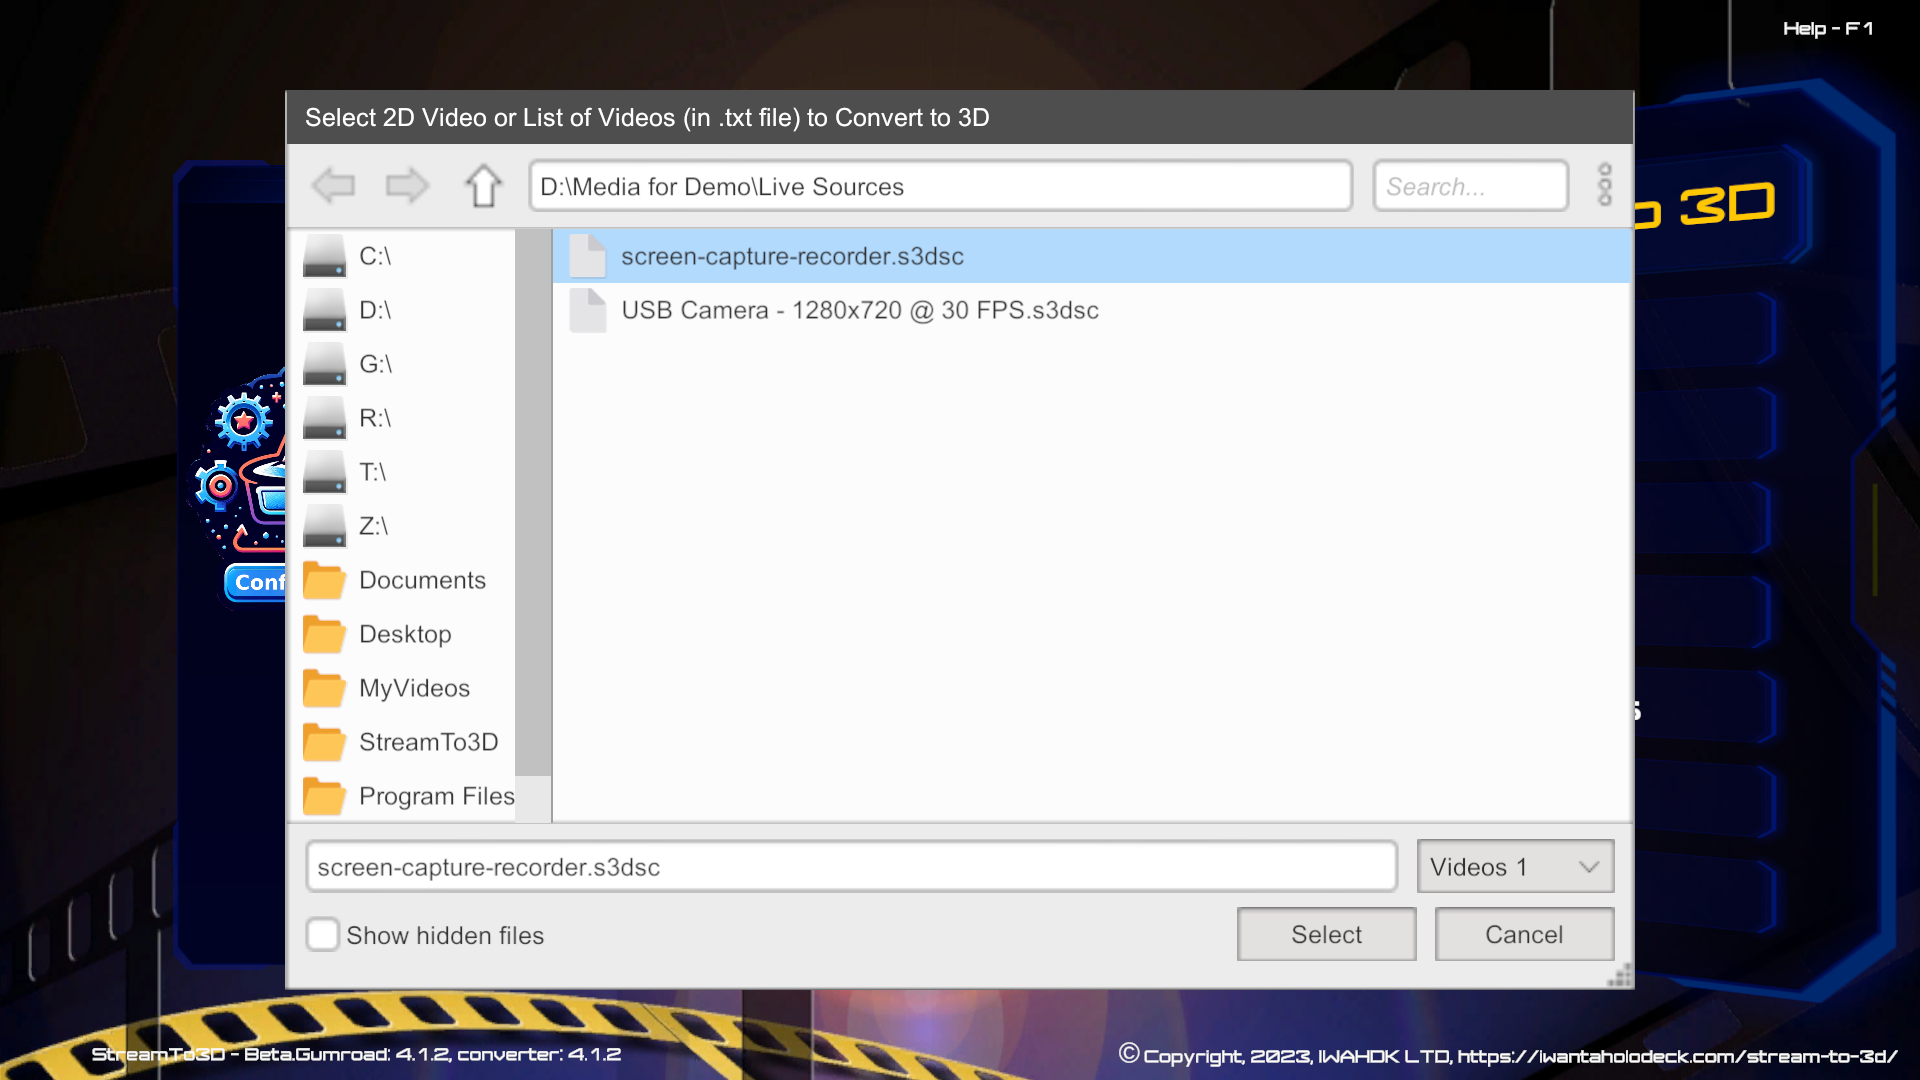
- Launch the main Stream to 3D application and open your created
.s3dscfile, for example via the Play main menu option as illustrated below:
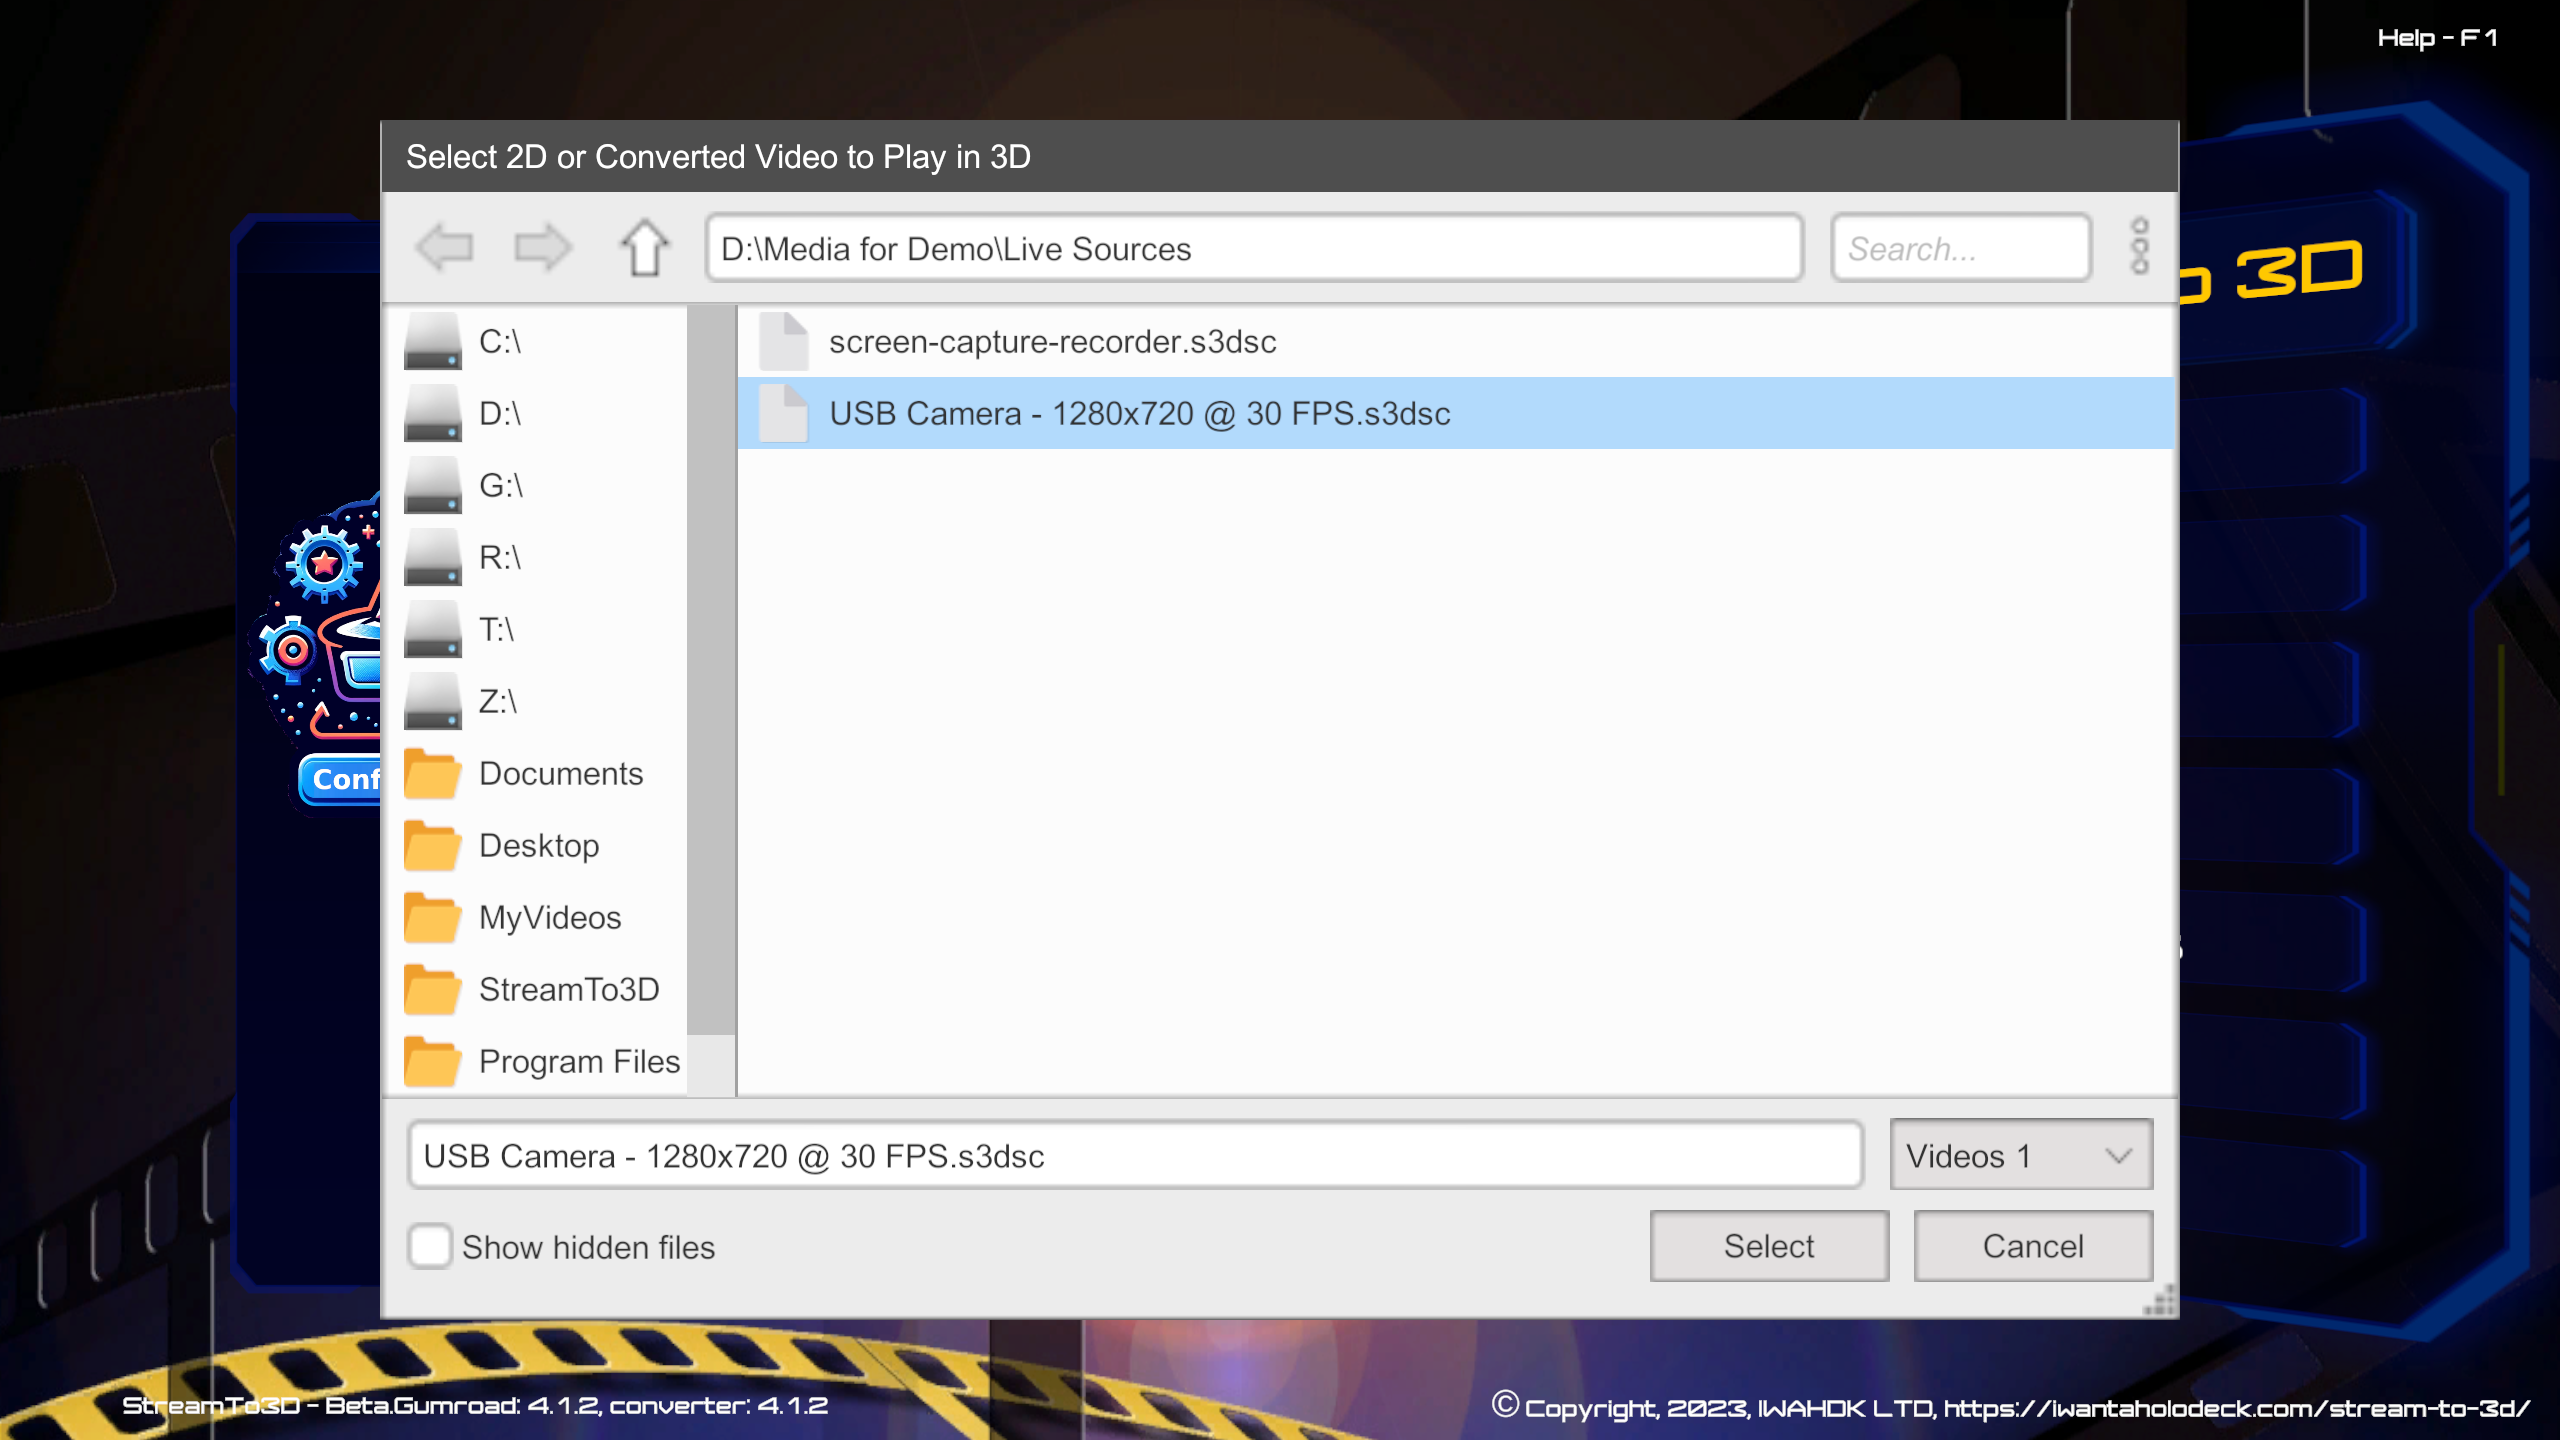
- All of Stream to 3D's functions—Play, Capture, Stream, and the Wizard —are available for use with live sources.
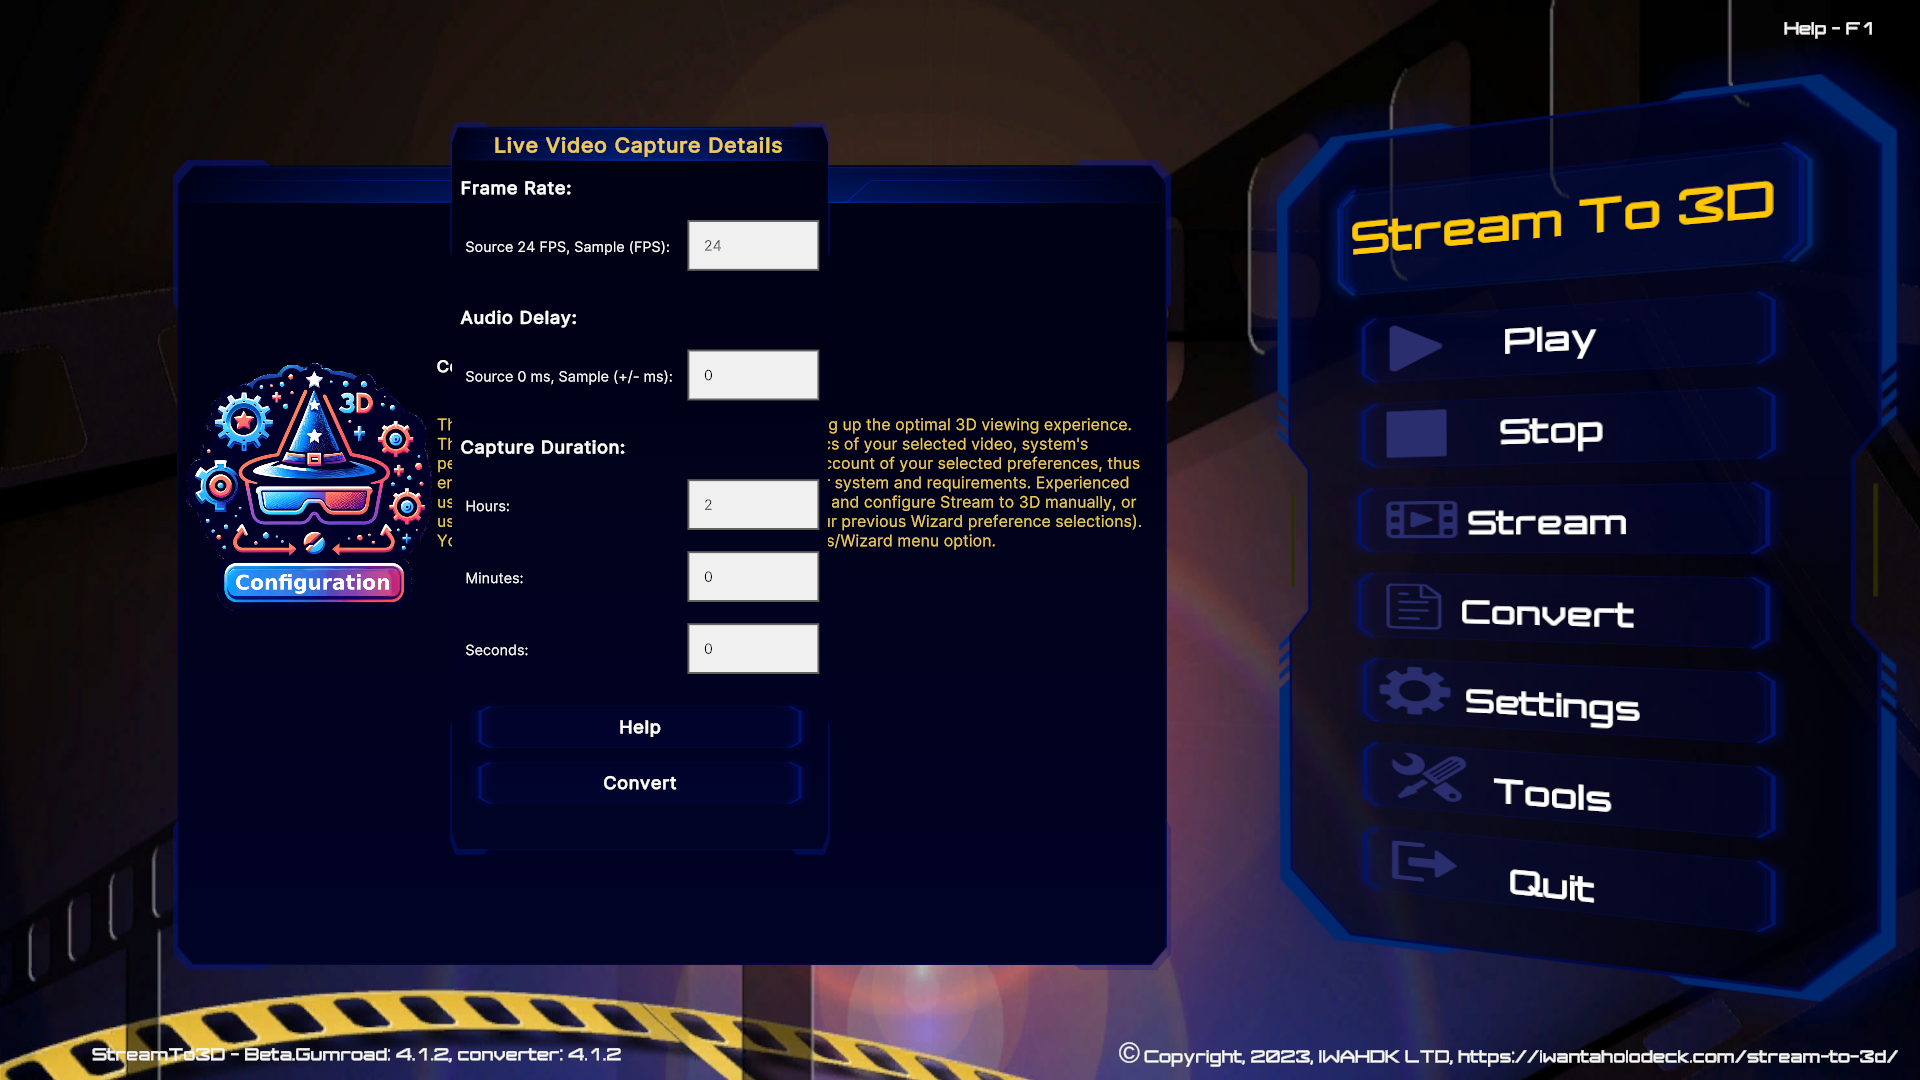
You will next see the Duration Dialog, a new feature specifically for live sources. Here, you can edit:
- Frame rate for sampling and 3D conversion.
- Capture duration (default: 2 hours). This is to automate the capture process if left unattended, you will be able to terminate the capture earlier if desired.

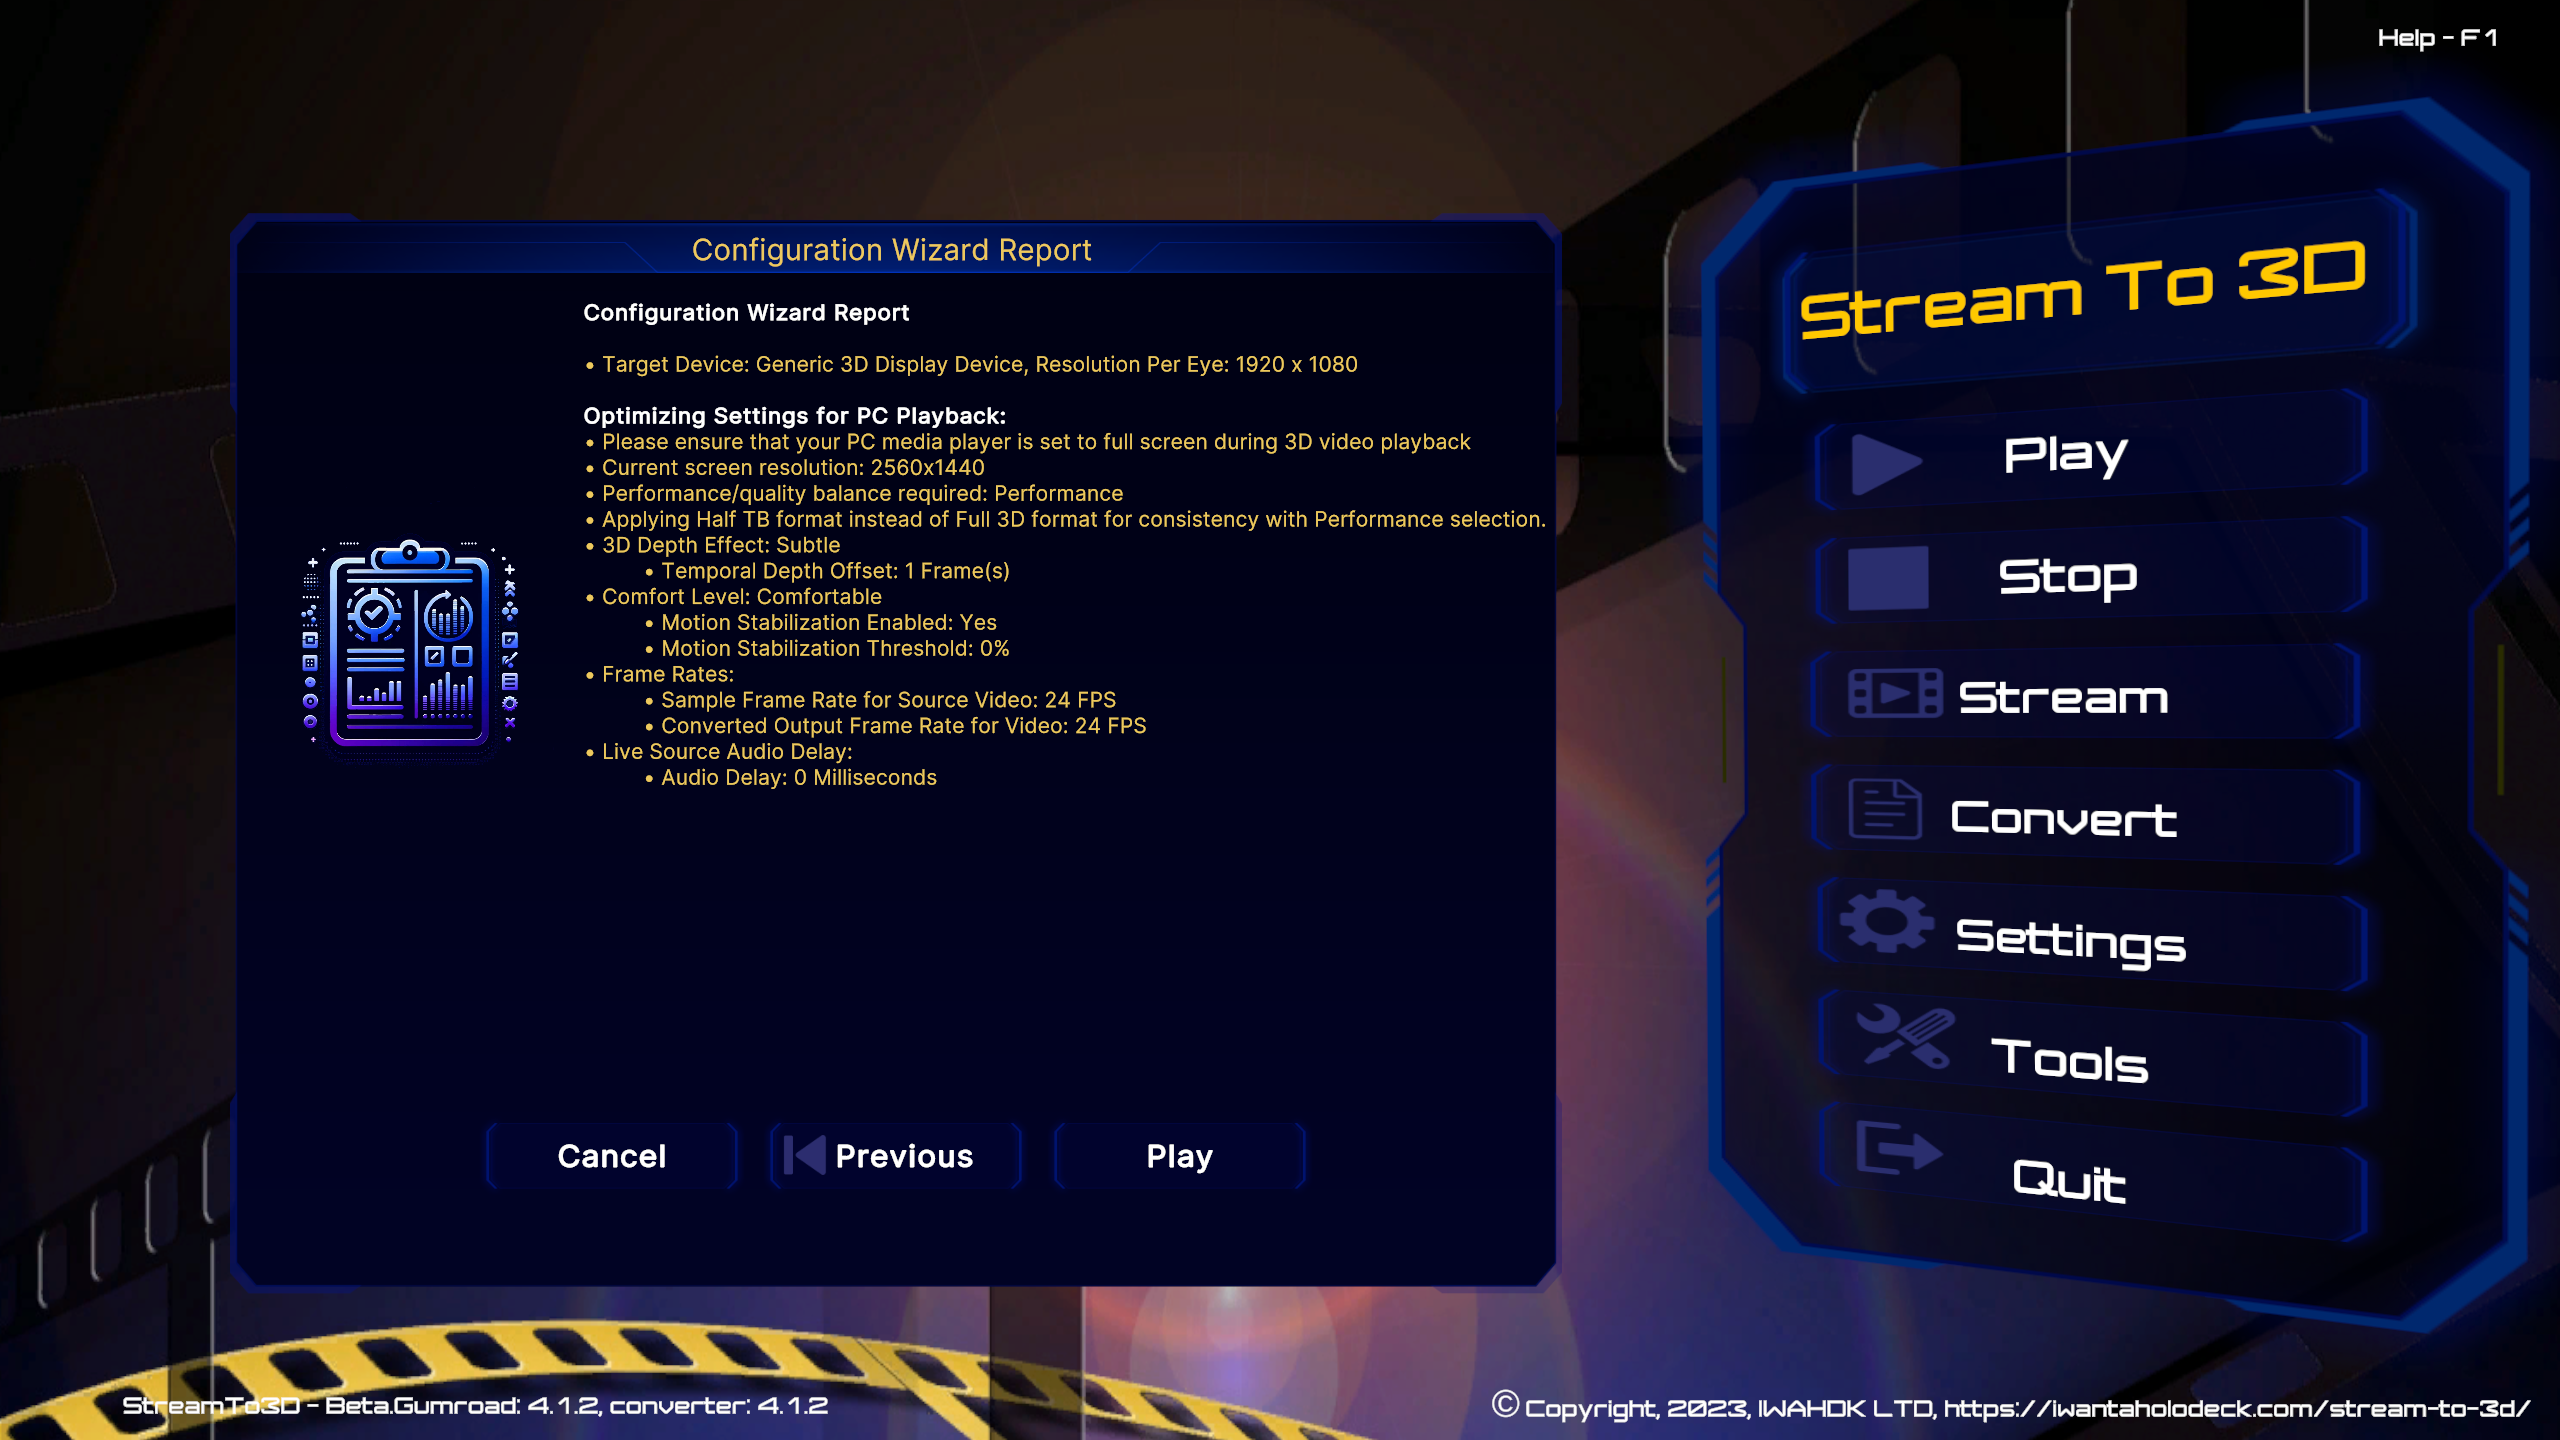
If using the Wizard, you might then choose to view the details of the video capture source:
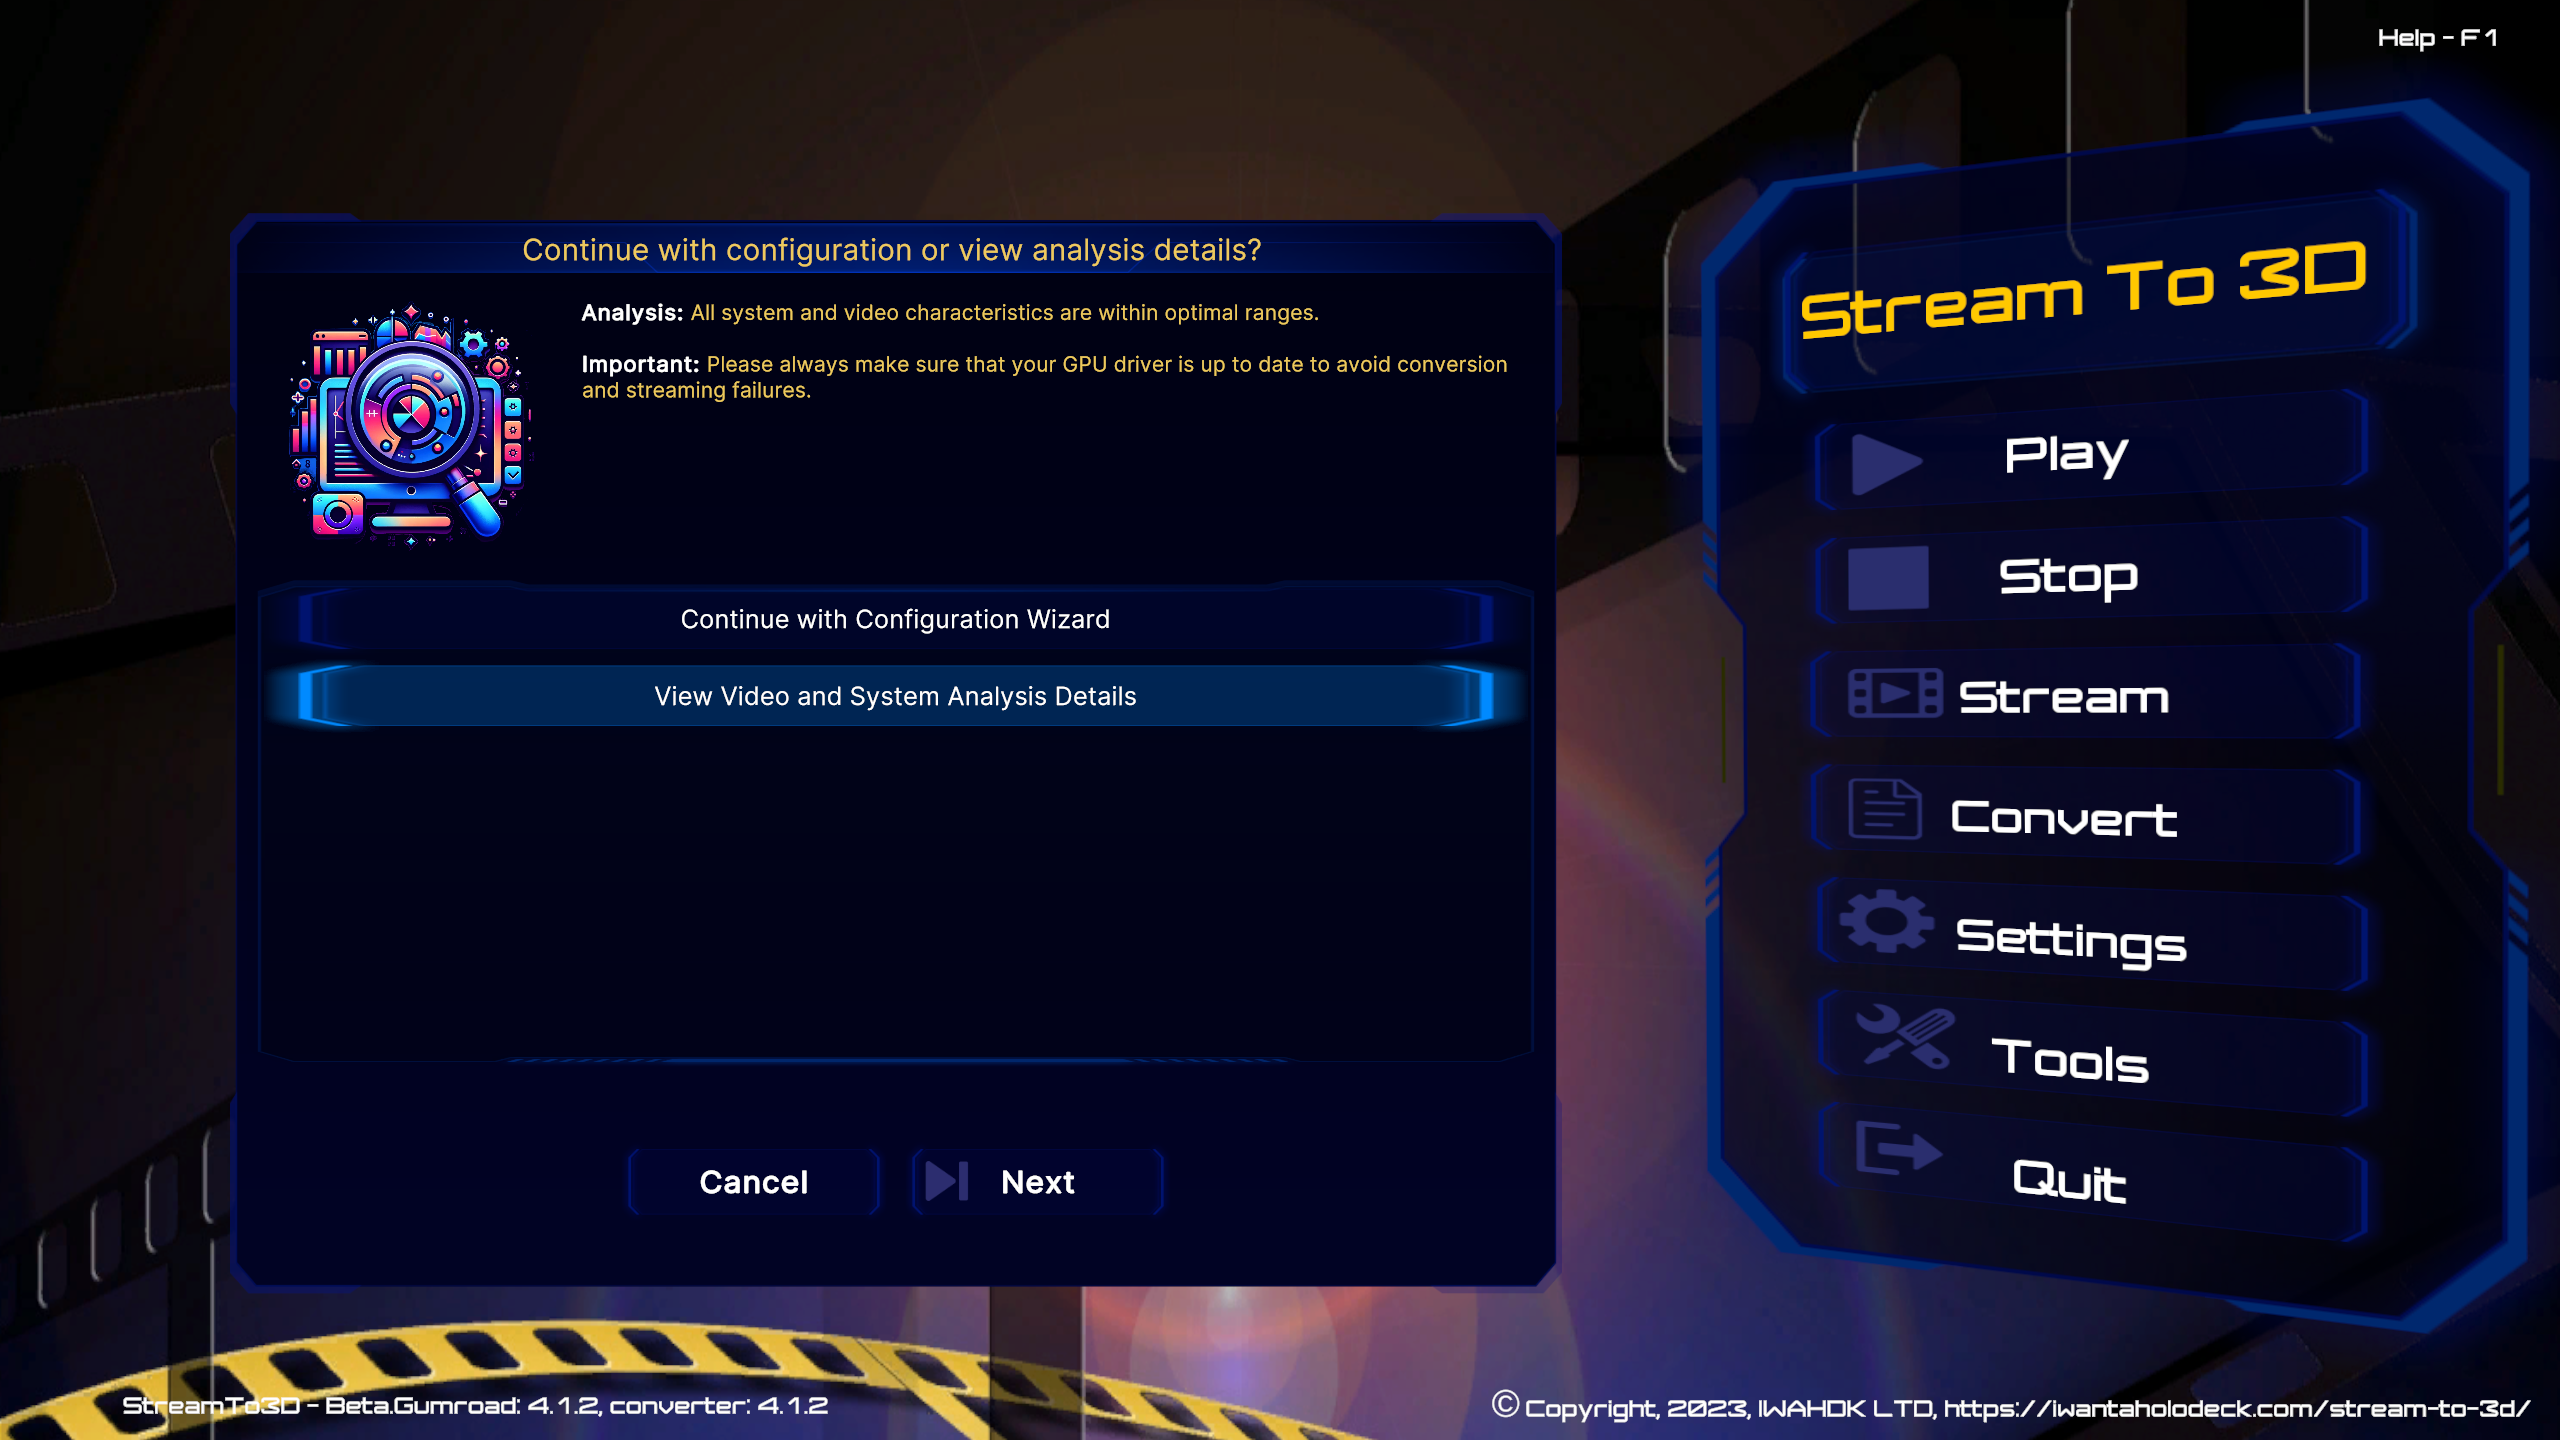
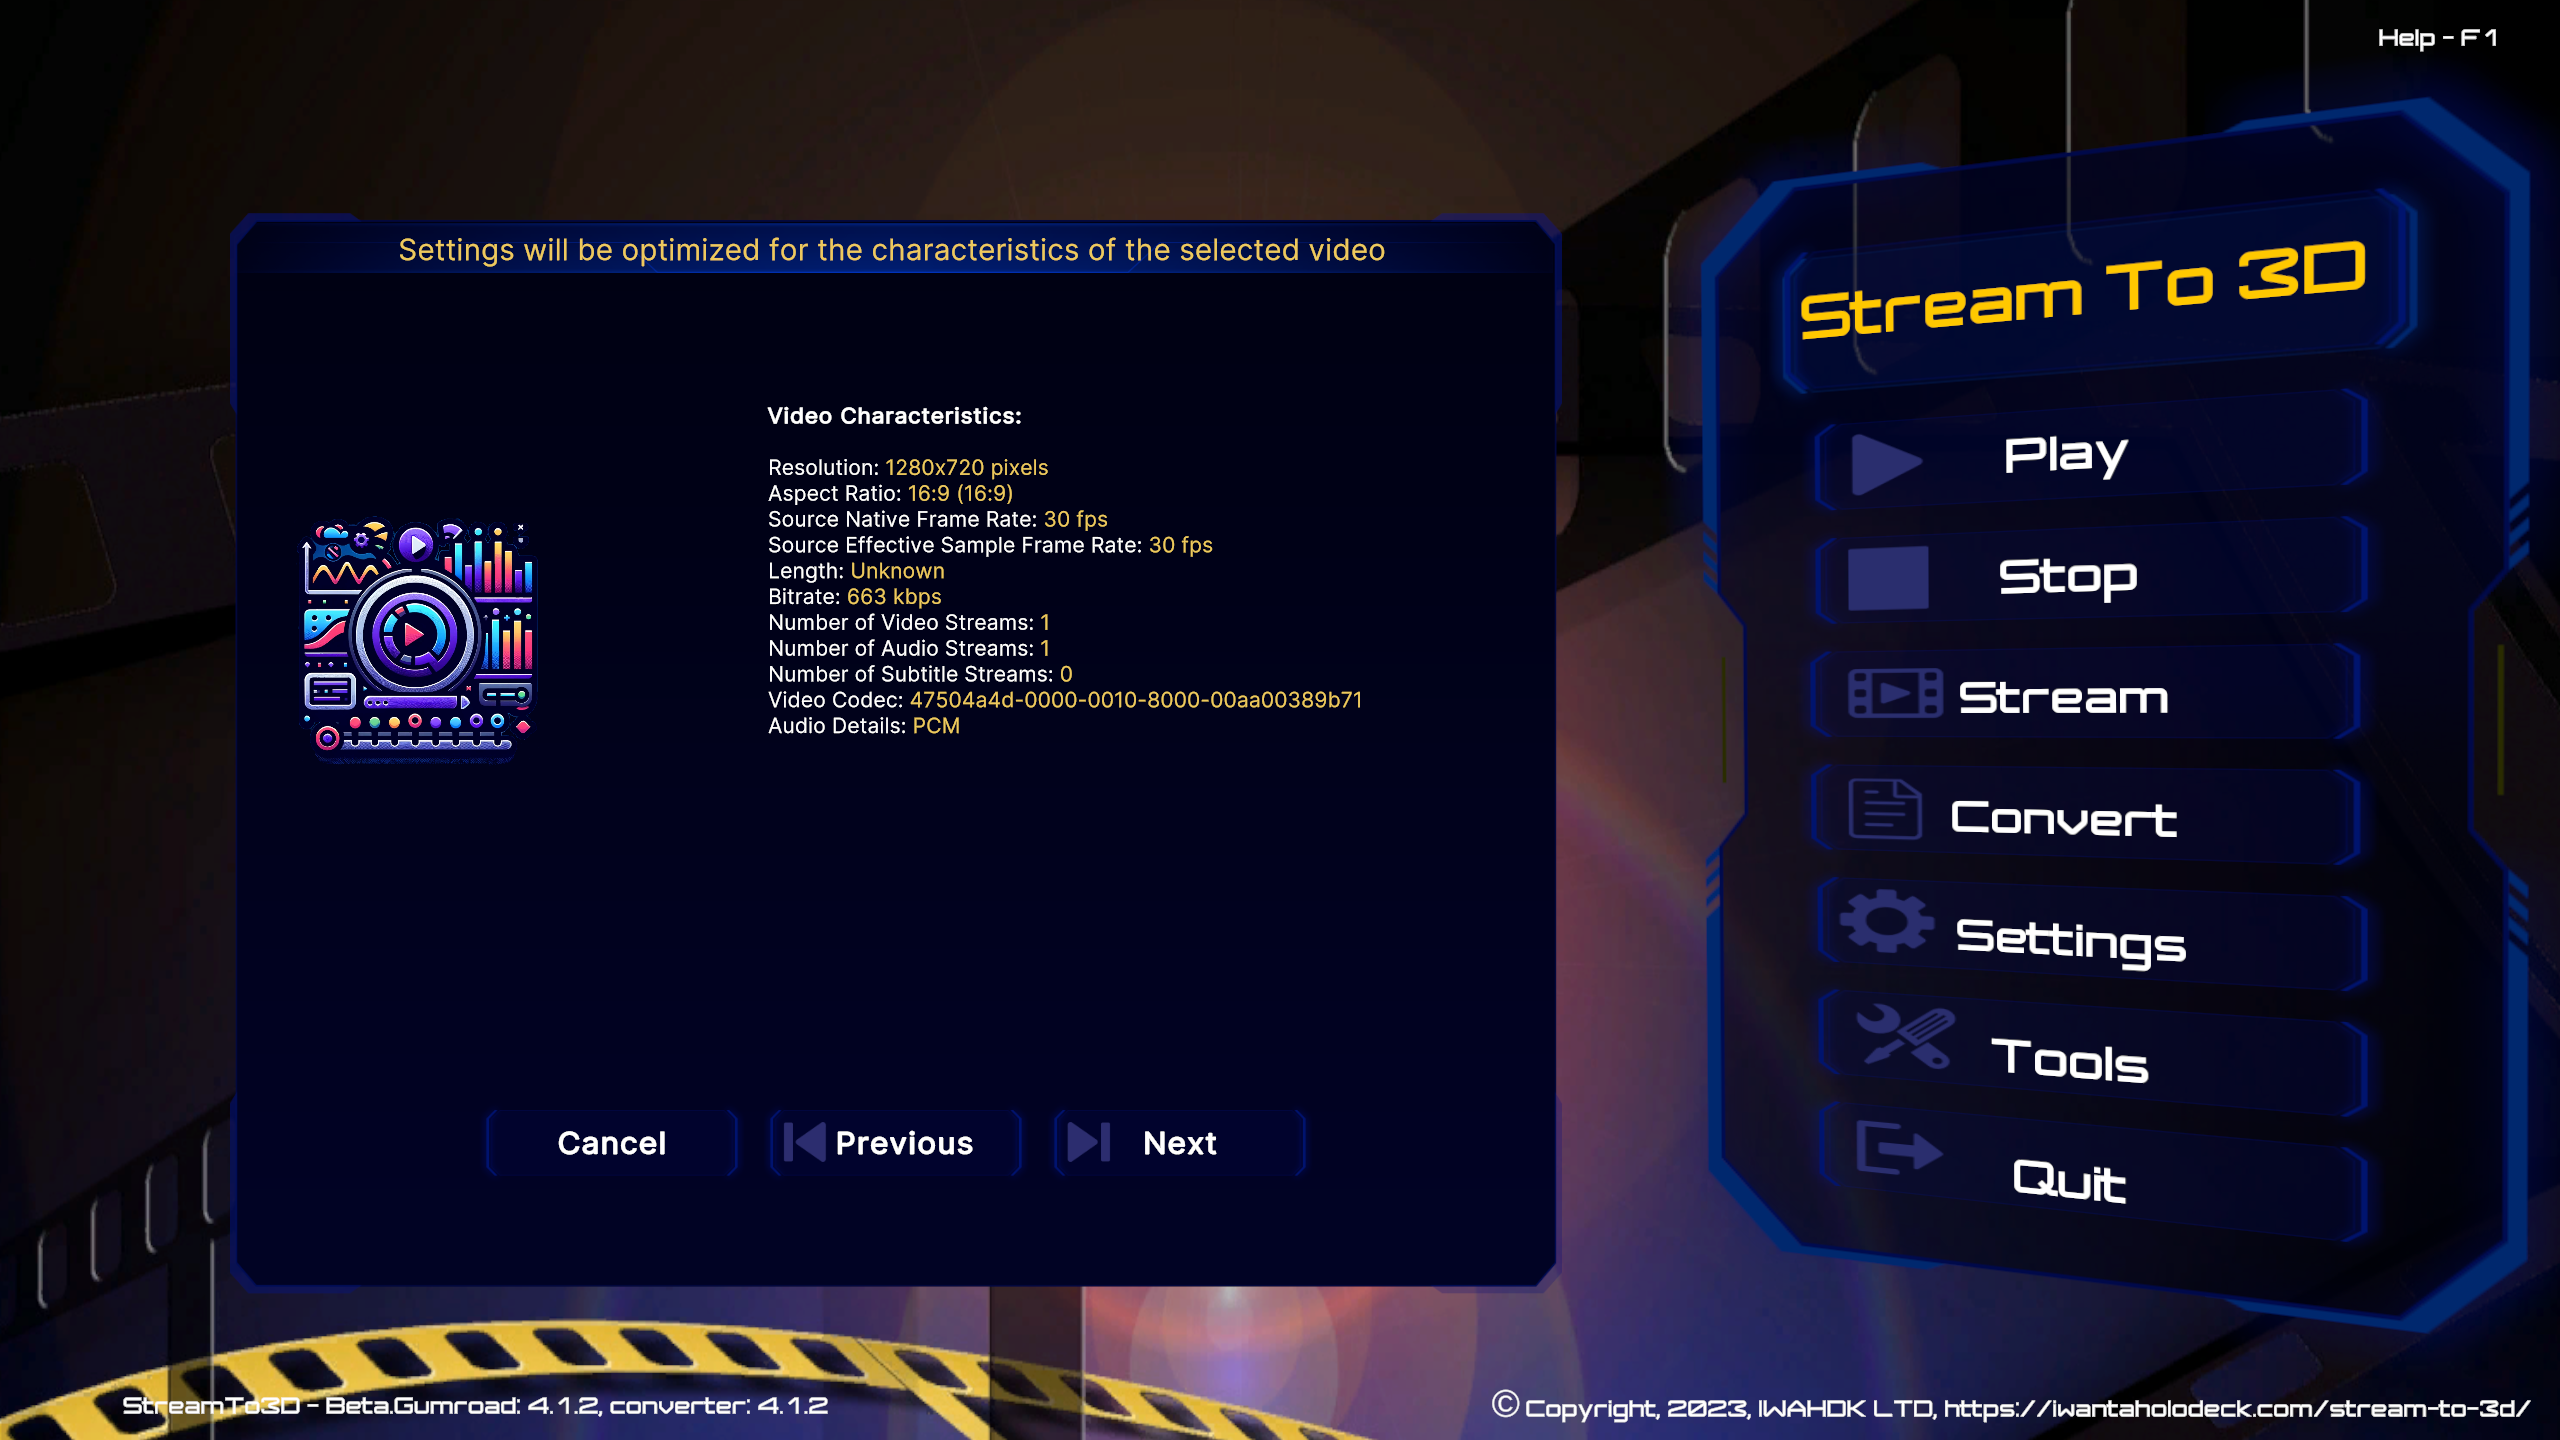
Subsequent workflow steps follow the standard Stream to 3D video conversion process.
- For details on Stream to 3D Play functionality:

- For the main documentation page:
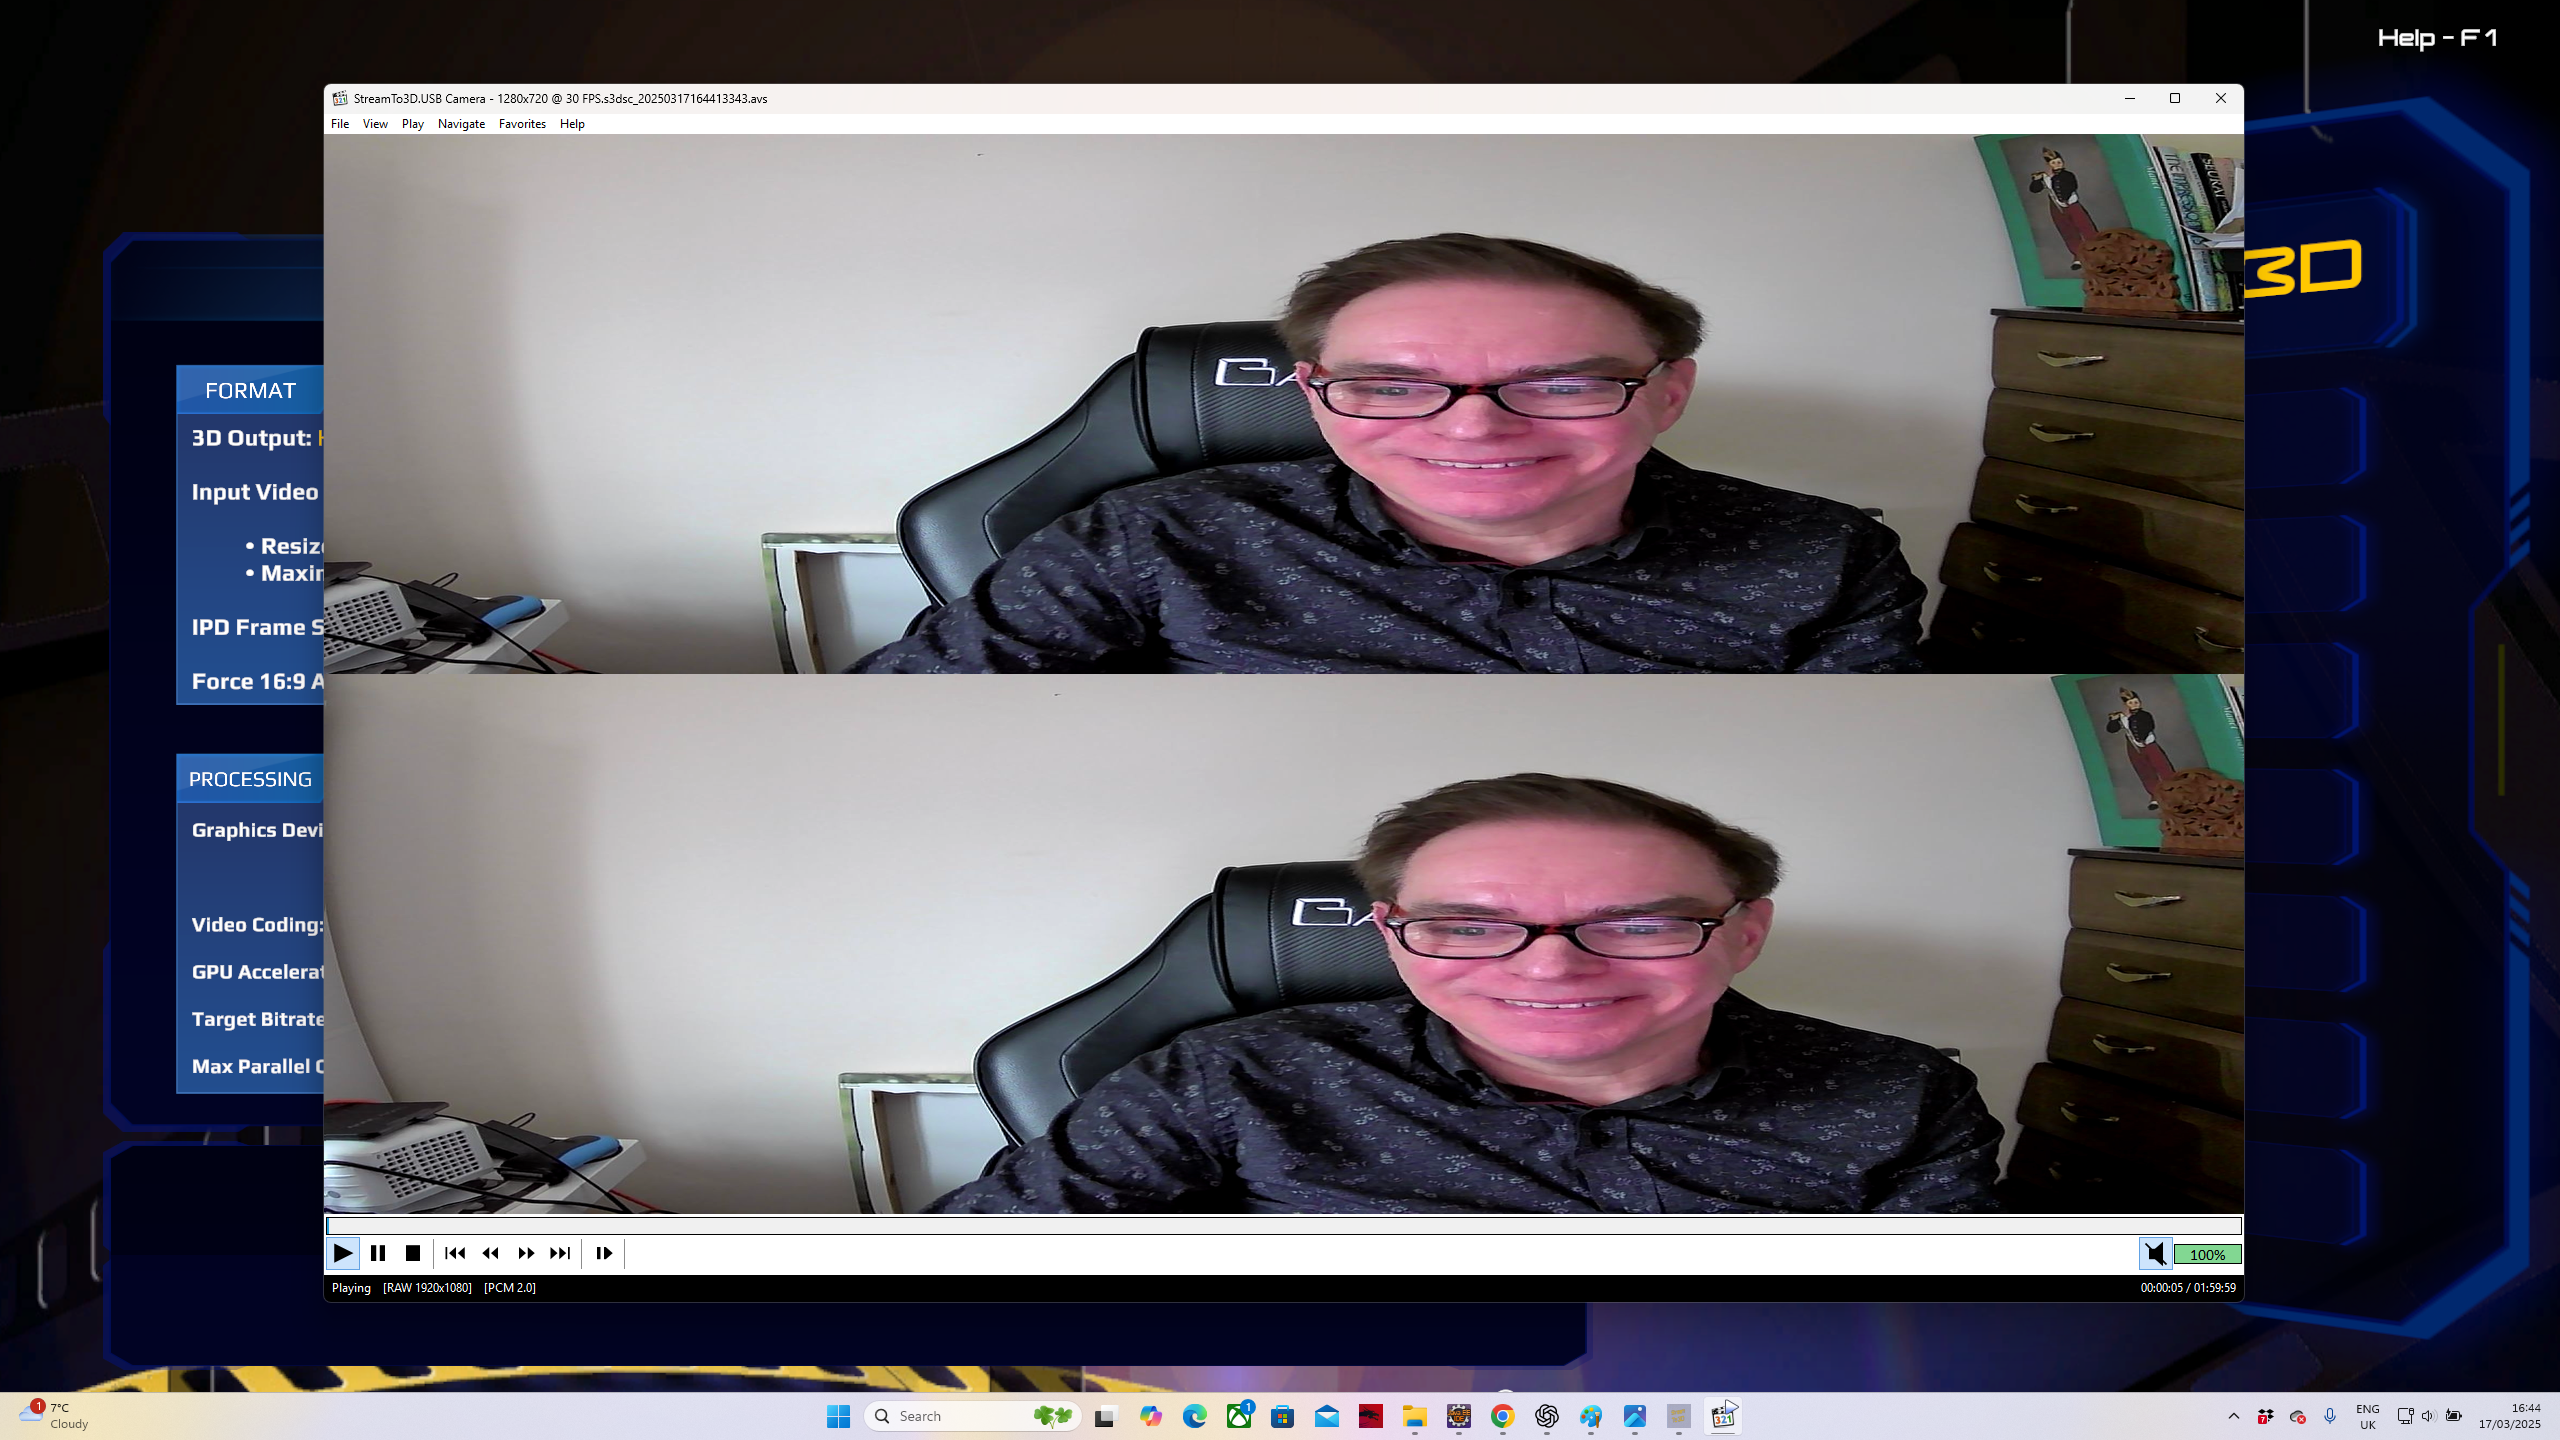
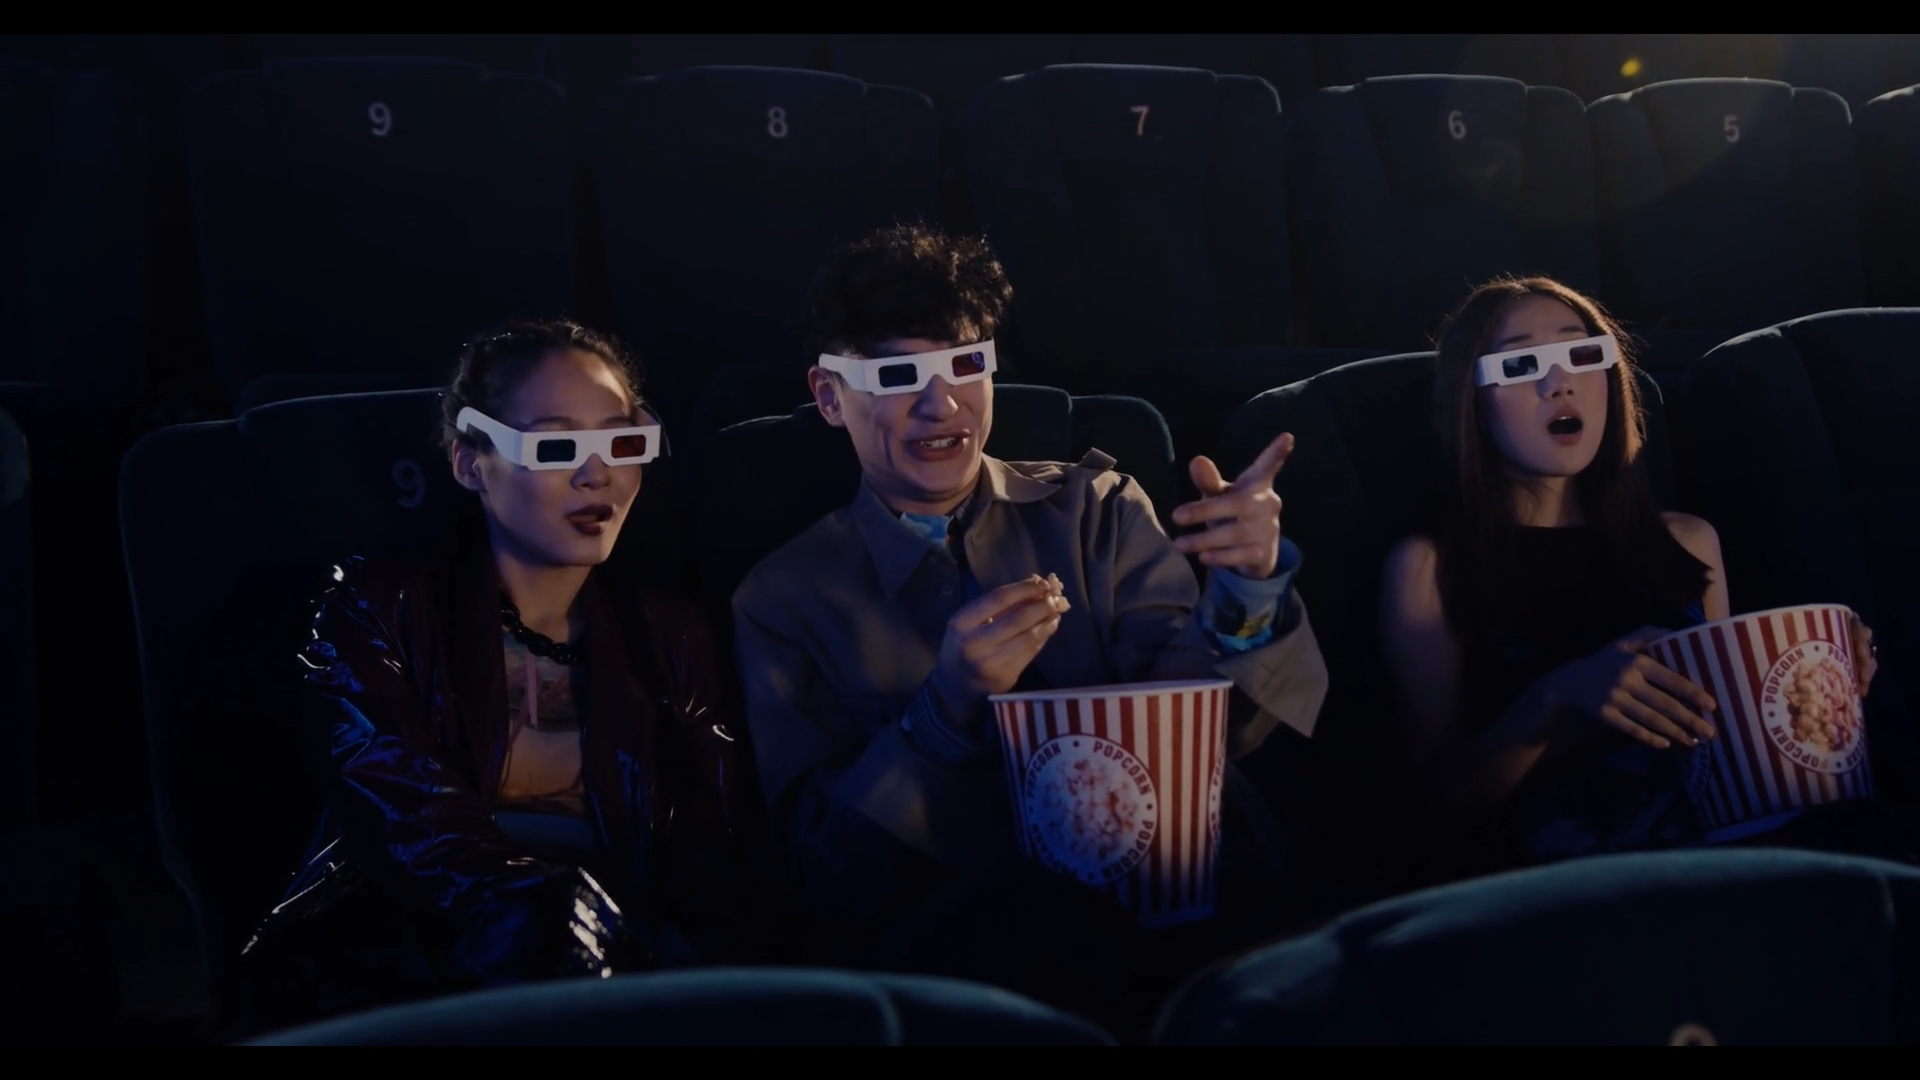
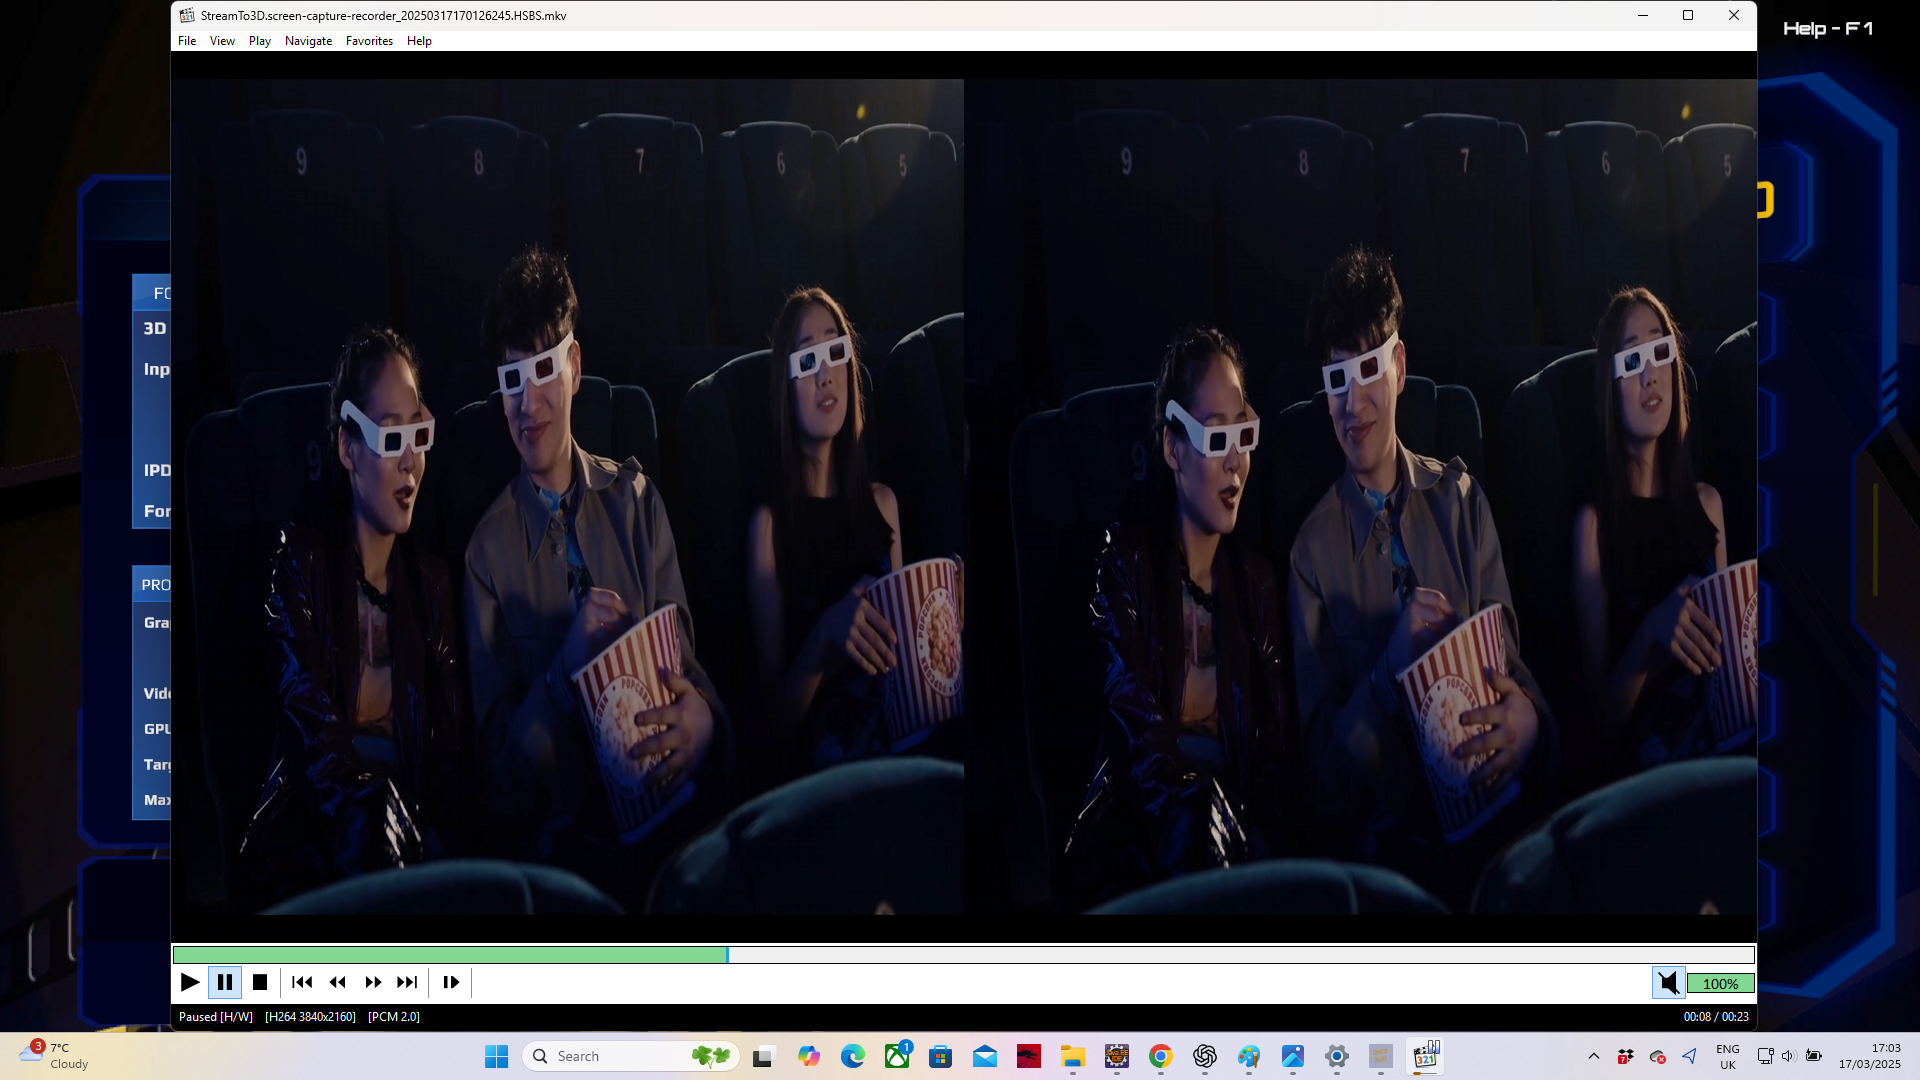
An example output from webcam to 3D conversion is shown below:
A screen-capture-recorder example
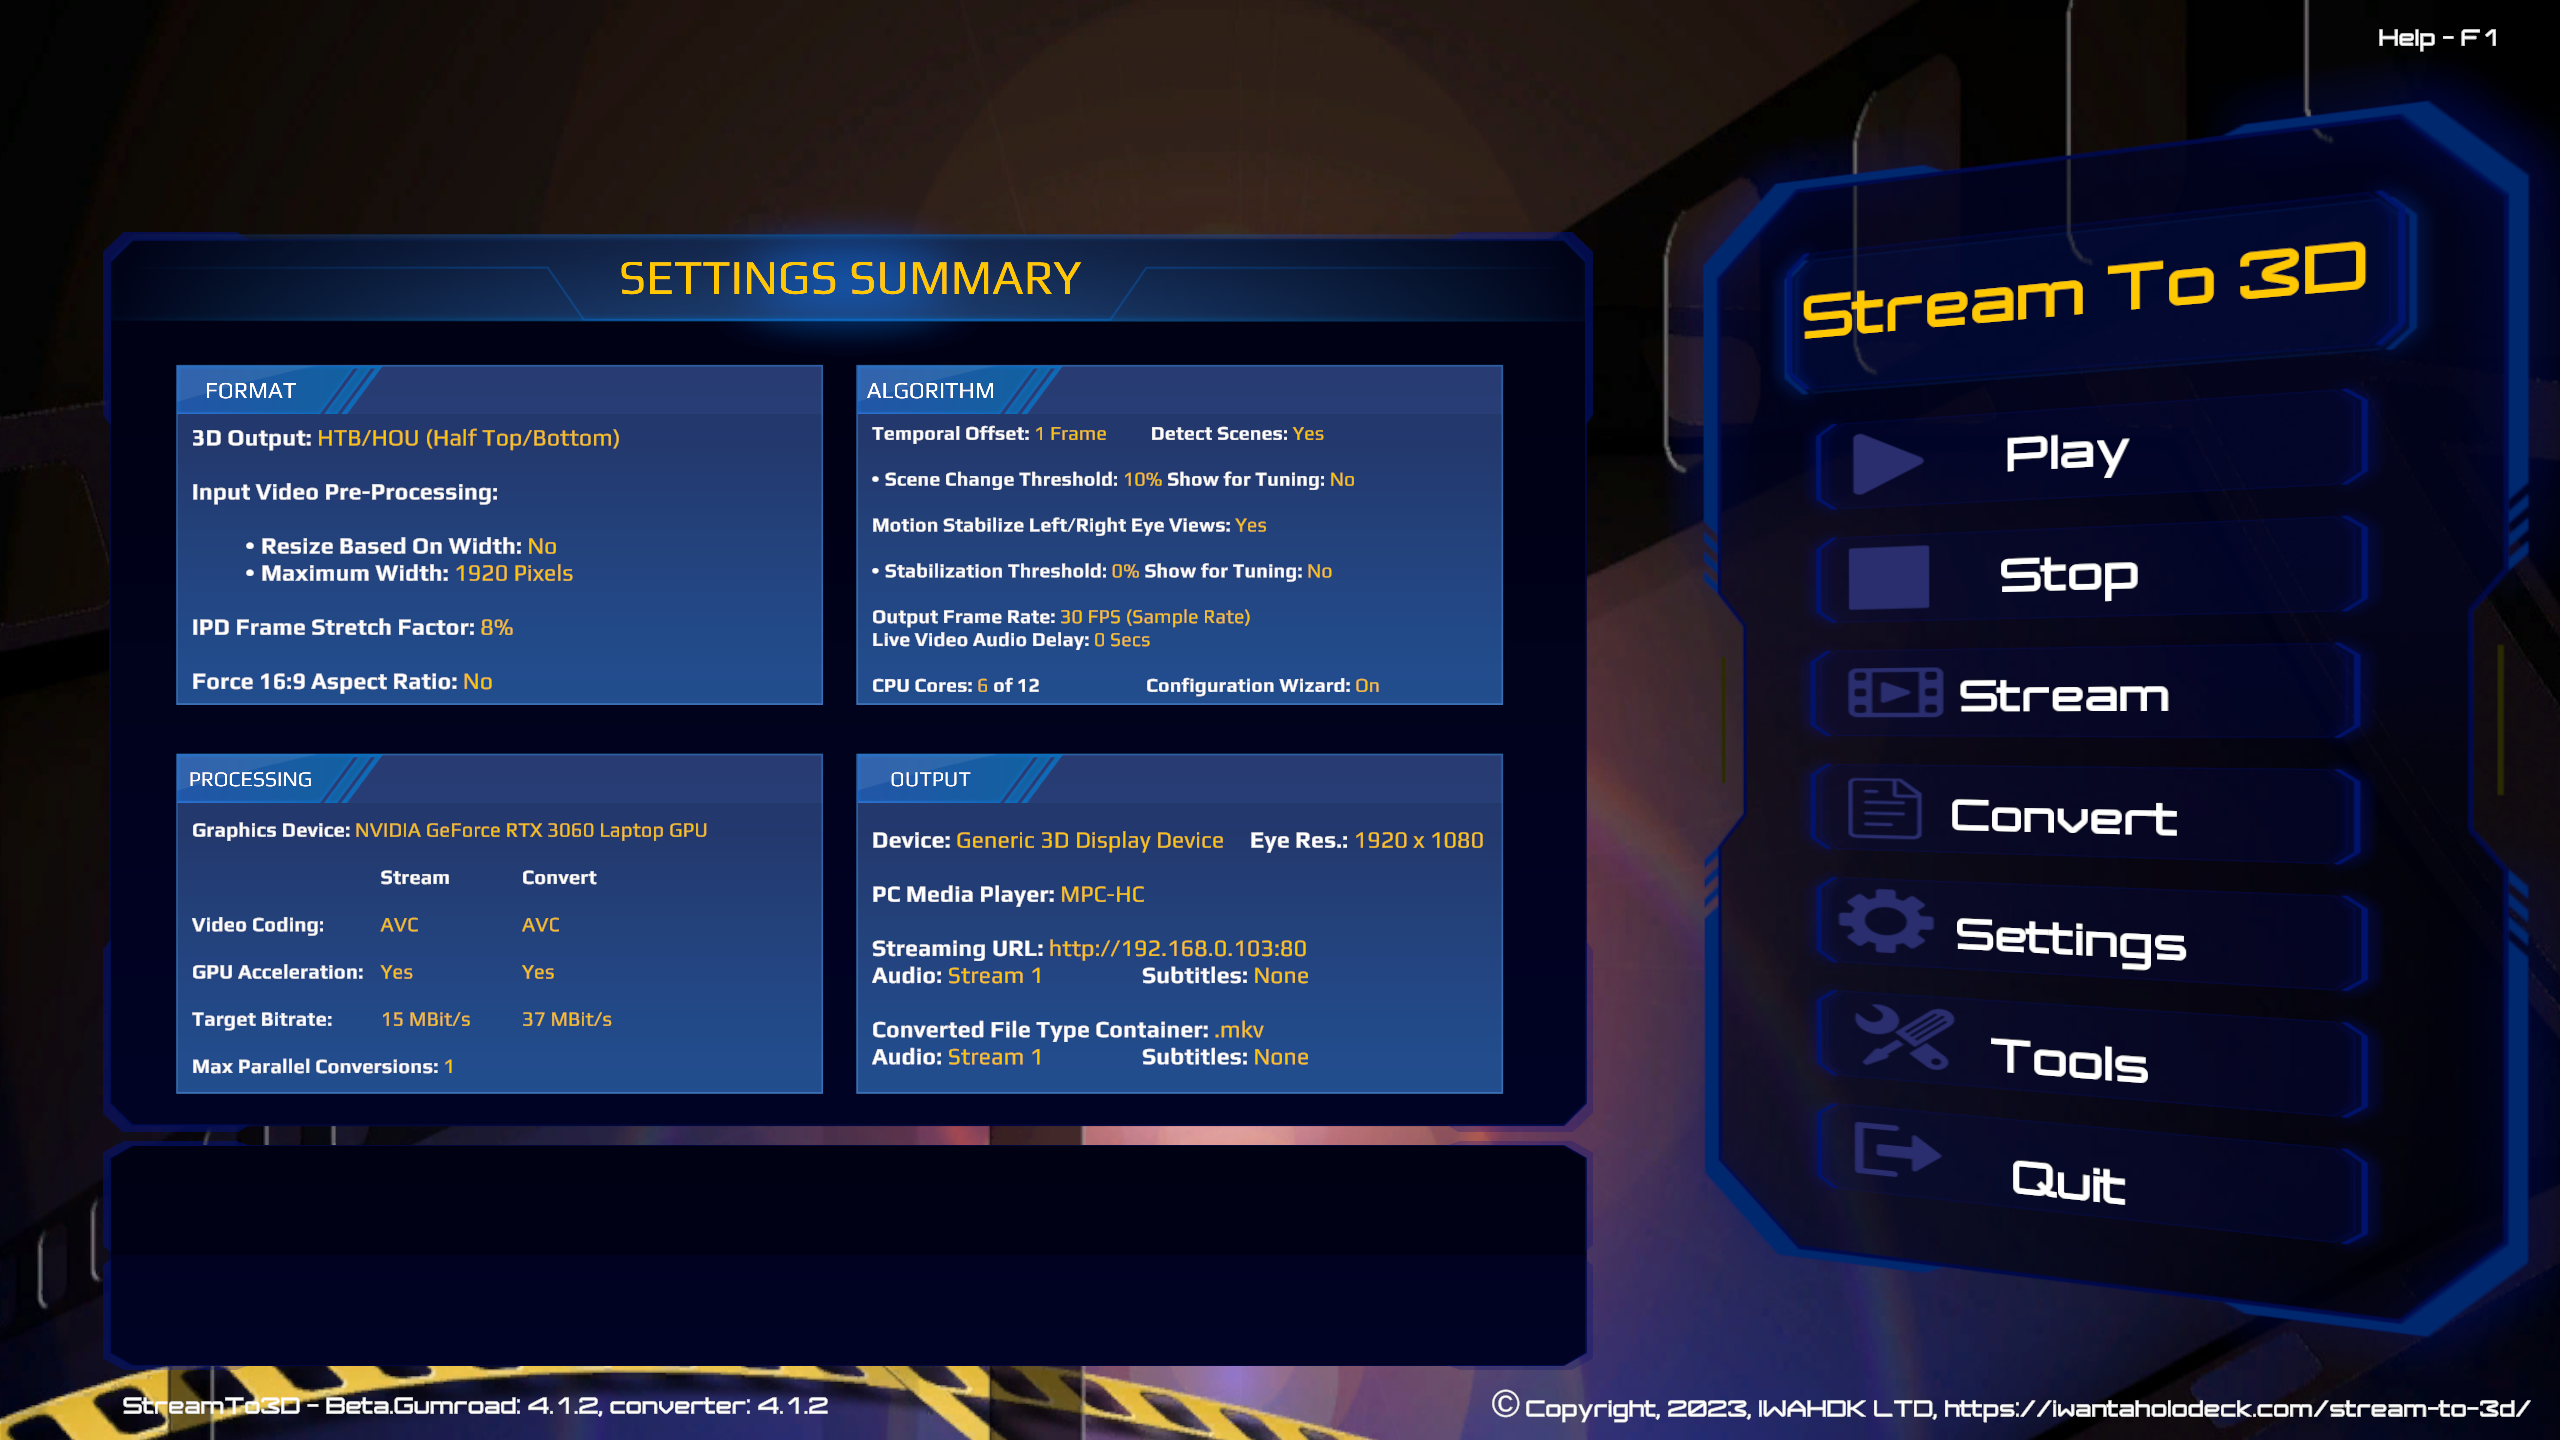
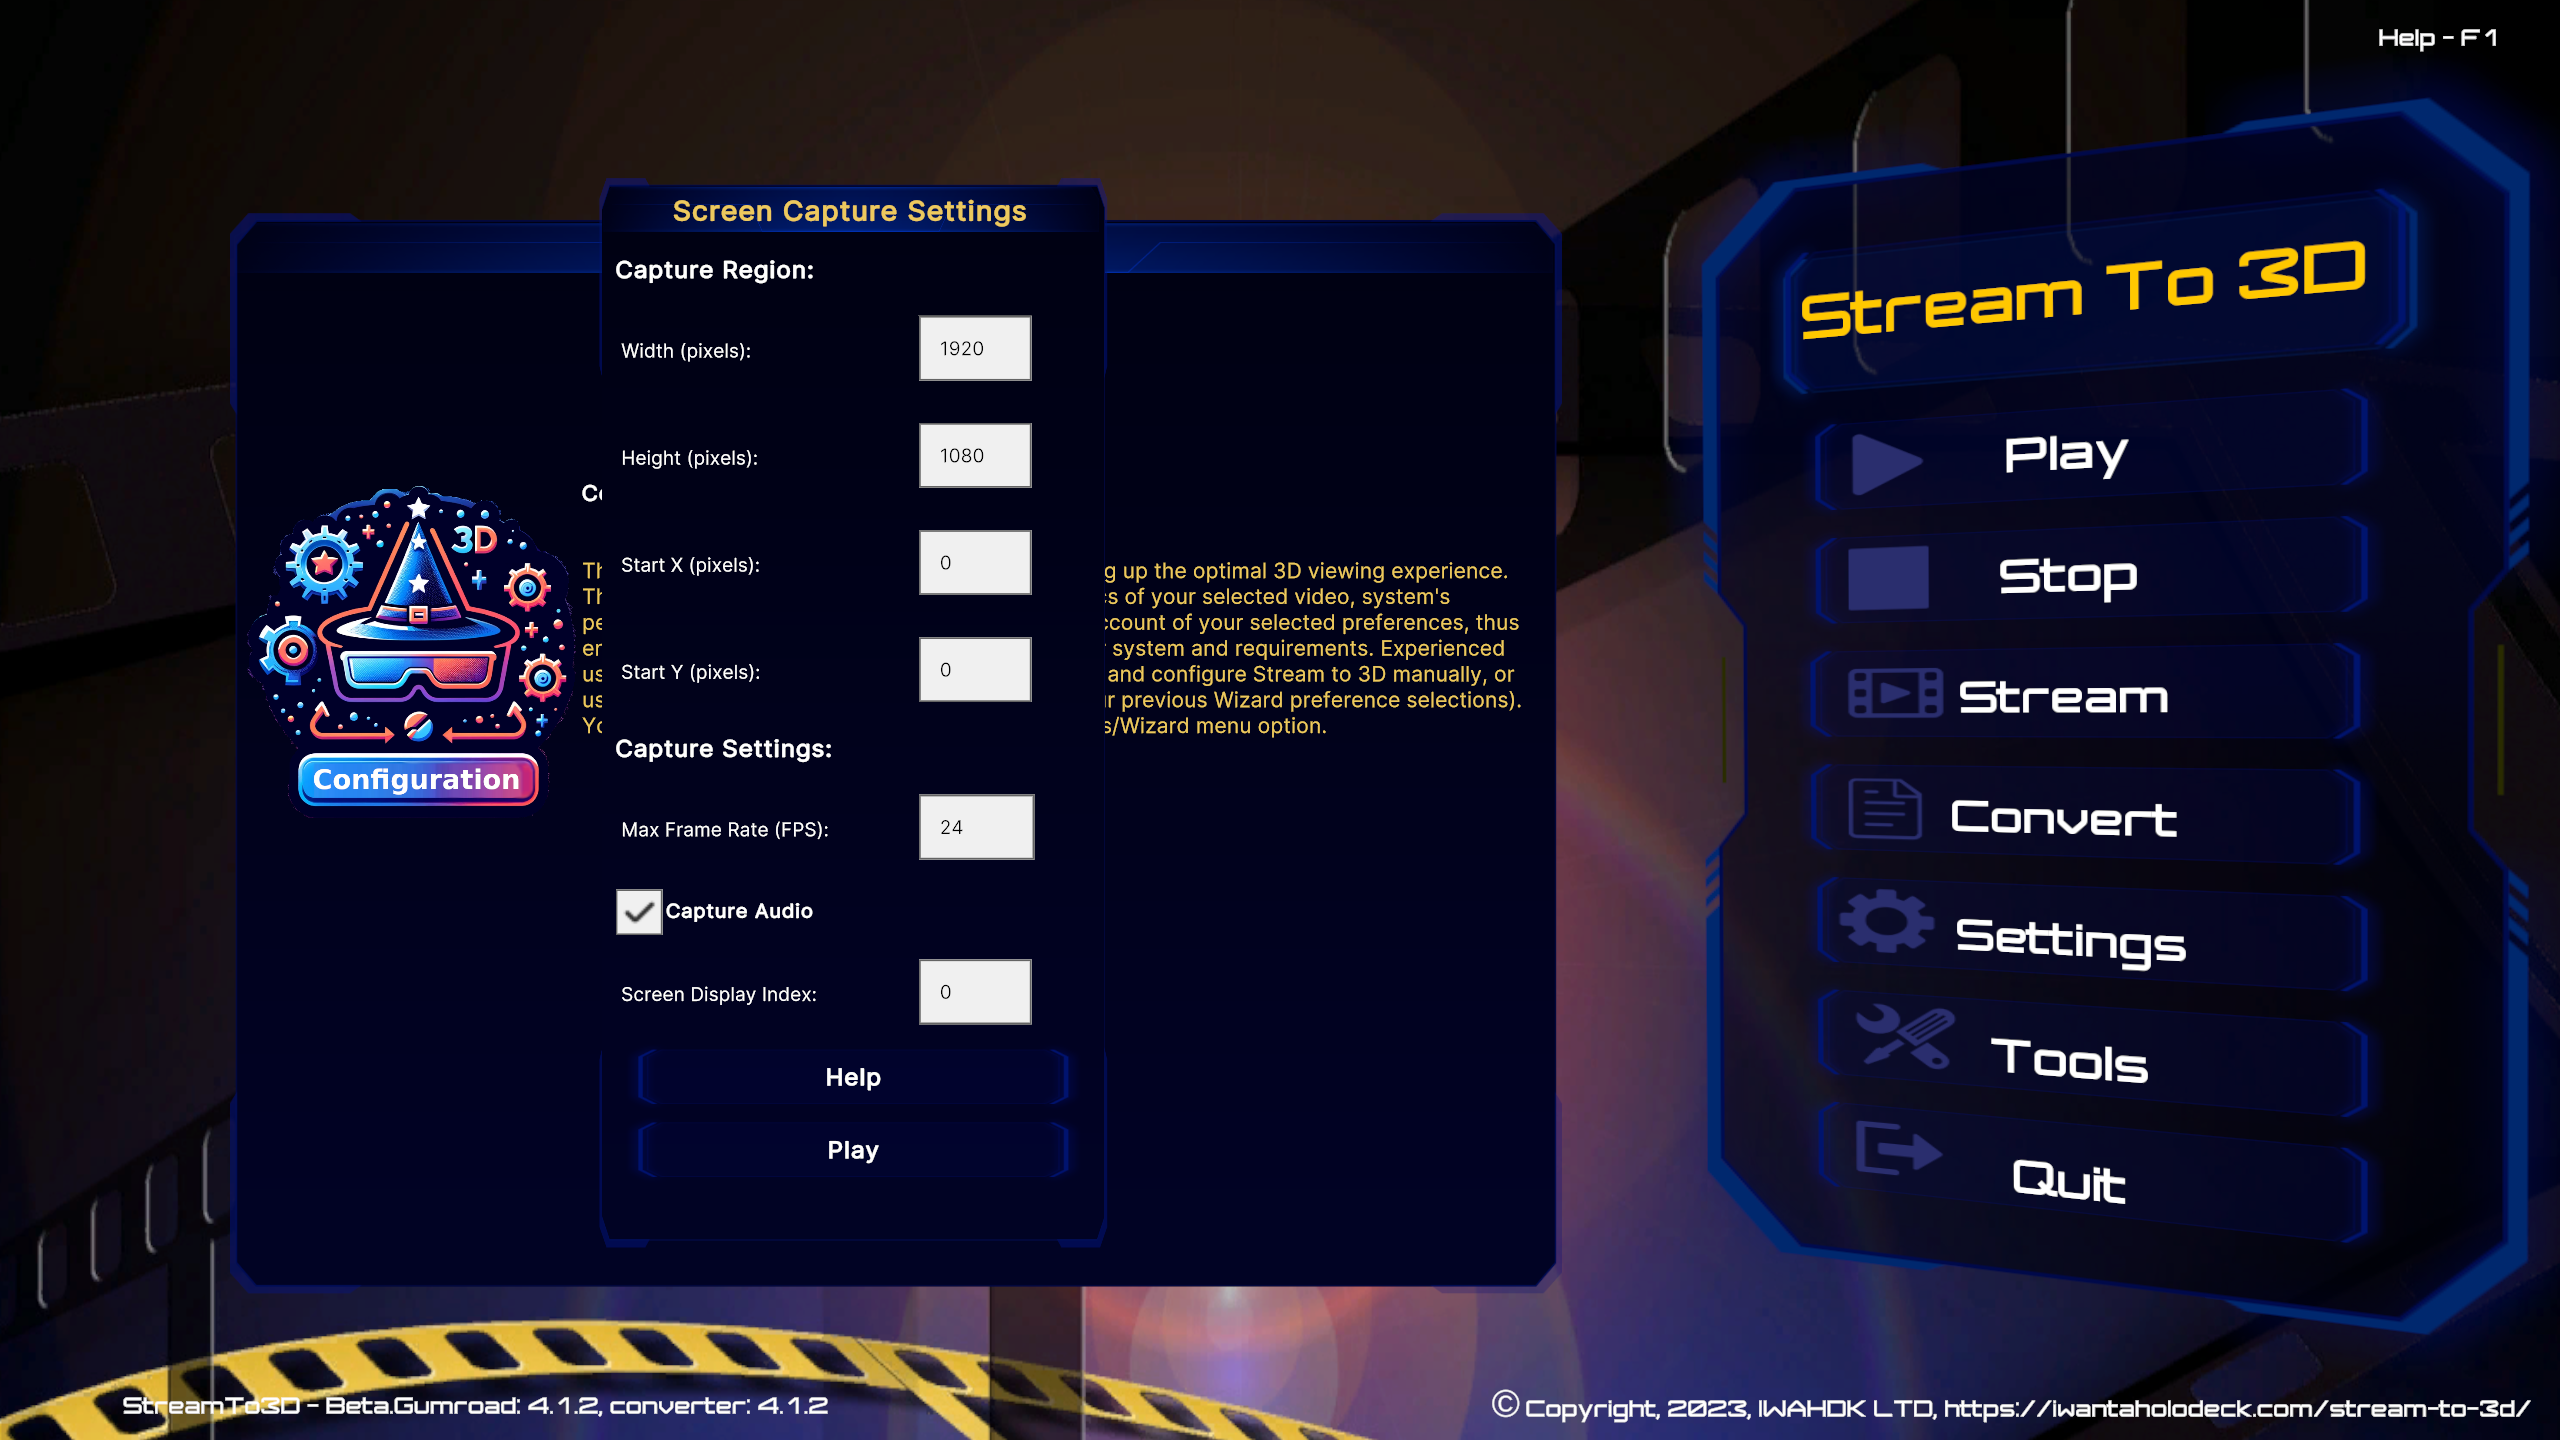
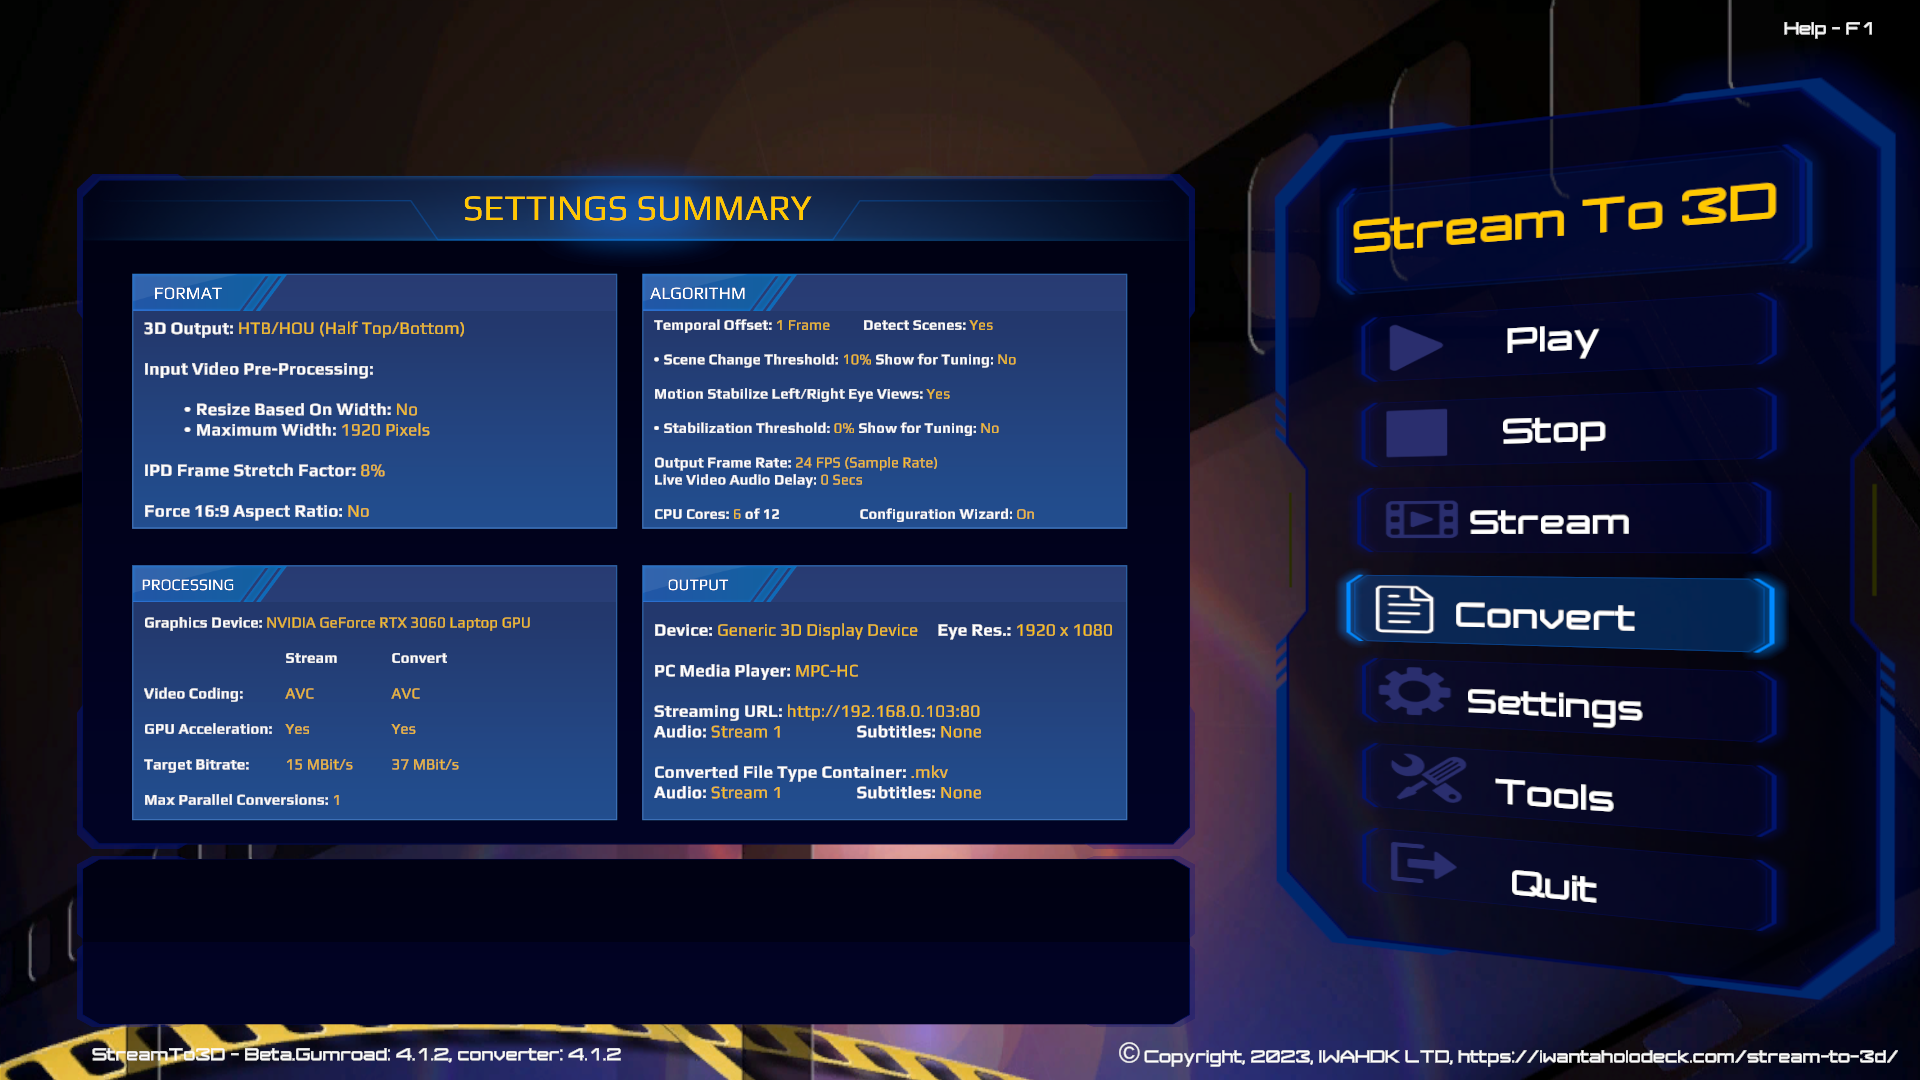
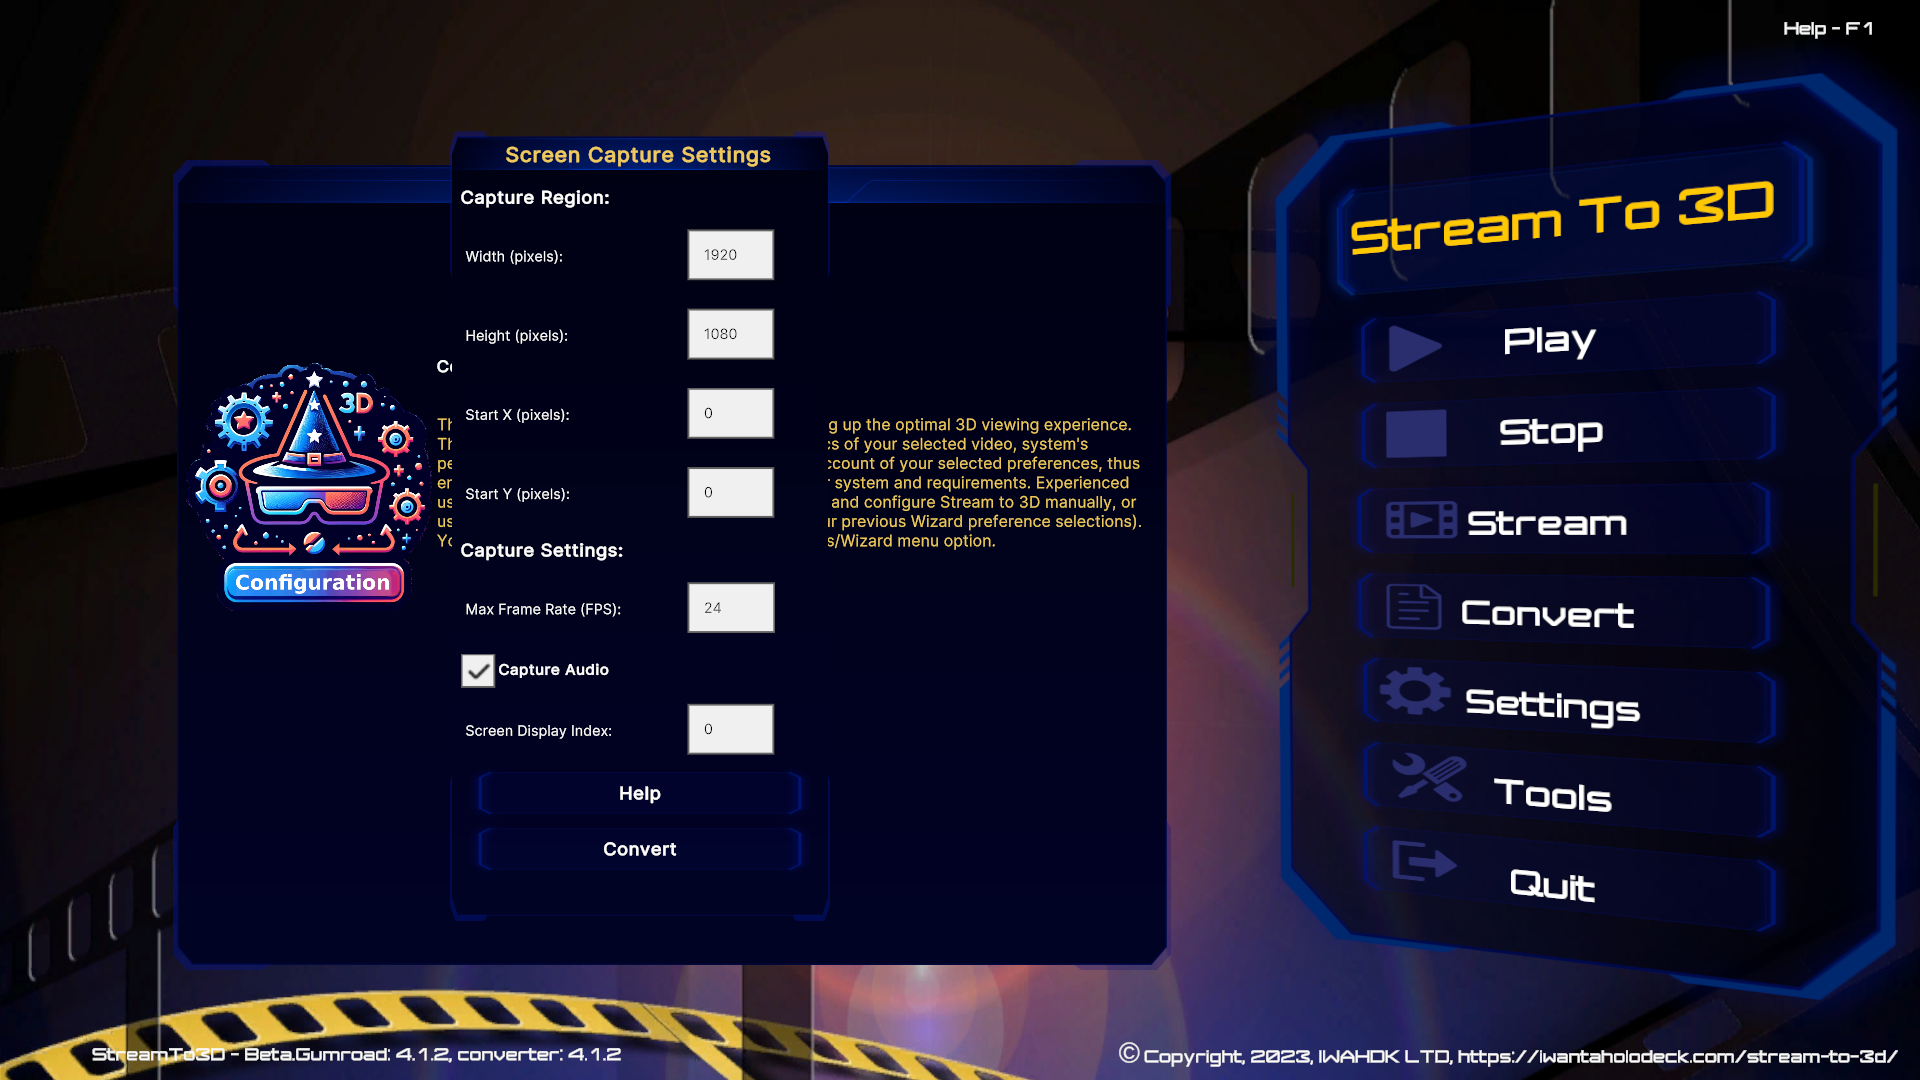
- The screen-capture-recorder source offers additional customisation directly through the Stream to 3D application:

The enhanced Stream to 3D functionality for screen-capture-recorder, shown below, allows you to:
- Specify a region of the screen to capture.
- Define the maximum native frame rate.
- Select which PC screen display to capture (useful for multi-monitor setups).
- Specify audio capture preferences.
A screen-capture-recorder conversion example


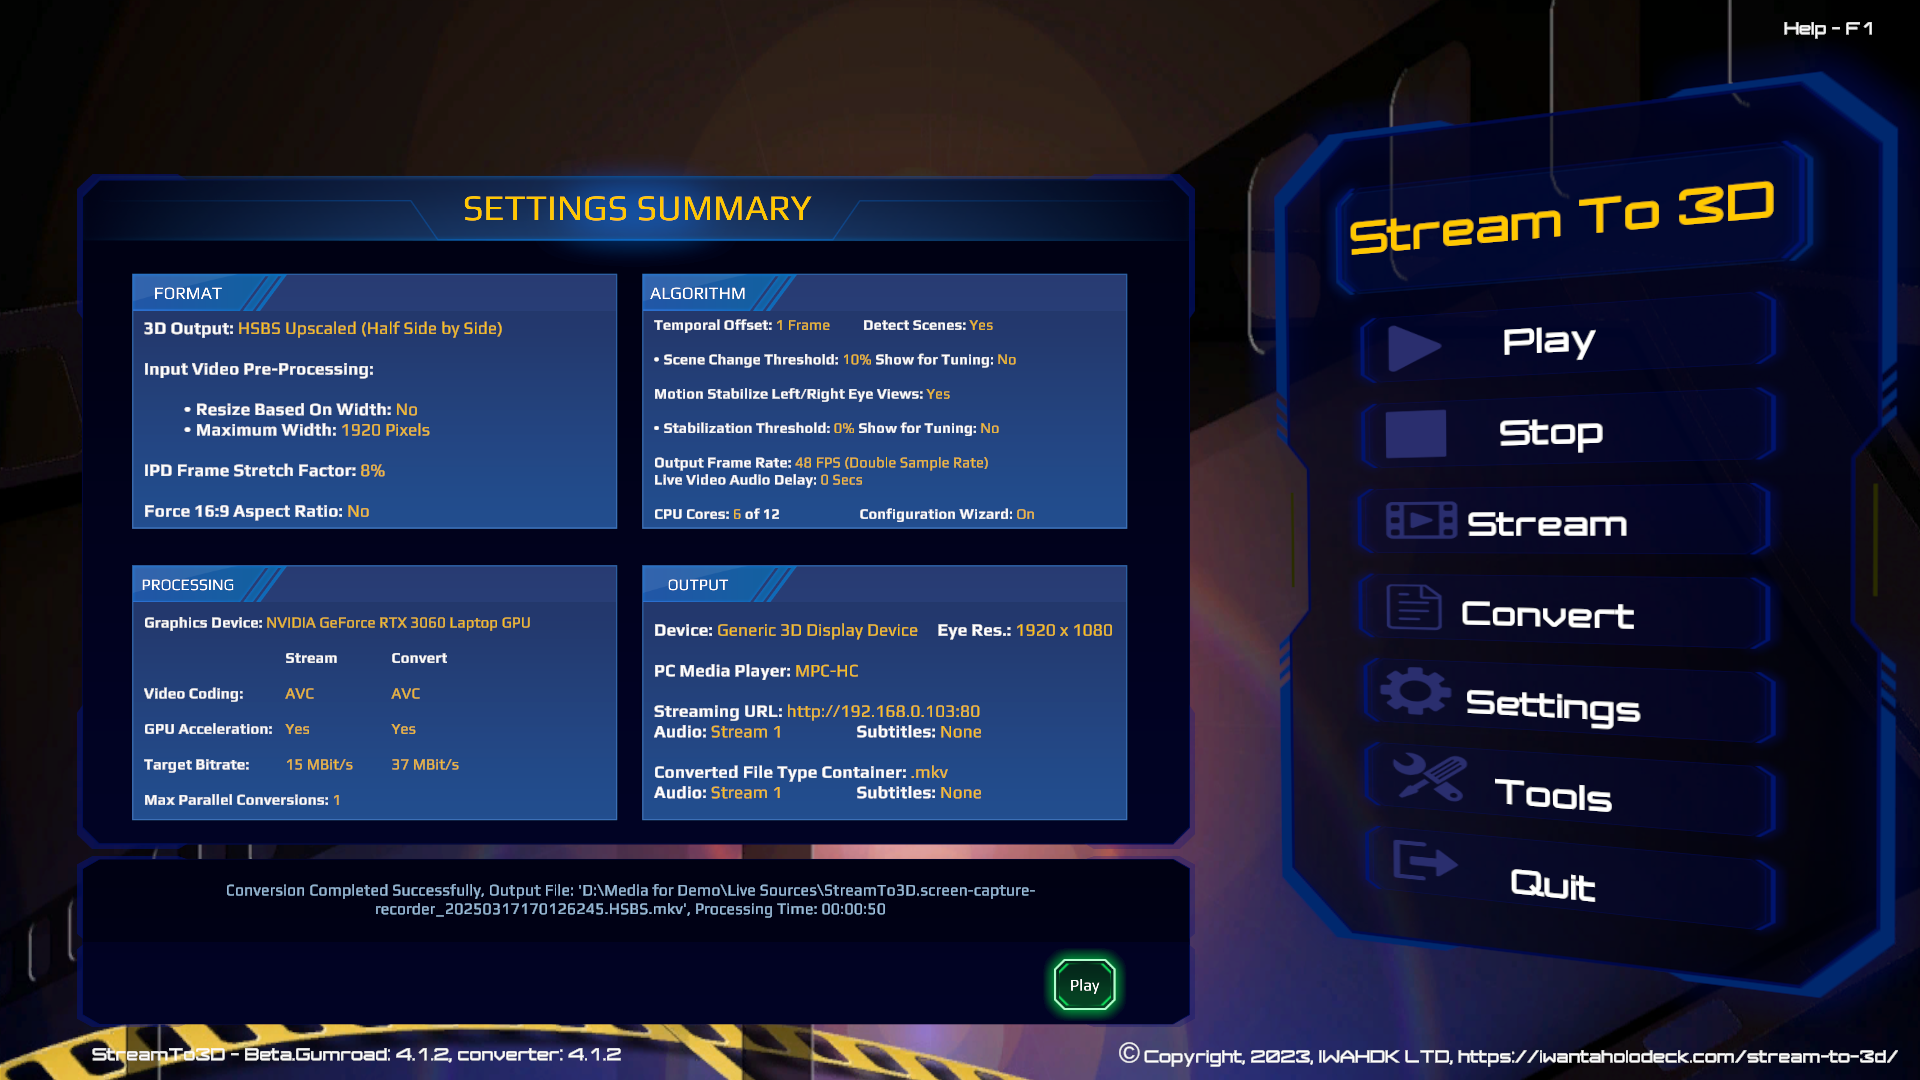
Next, the user should press Convert and select the destination file for the converted 3D video:
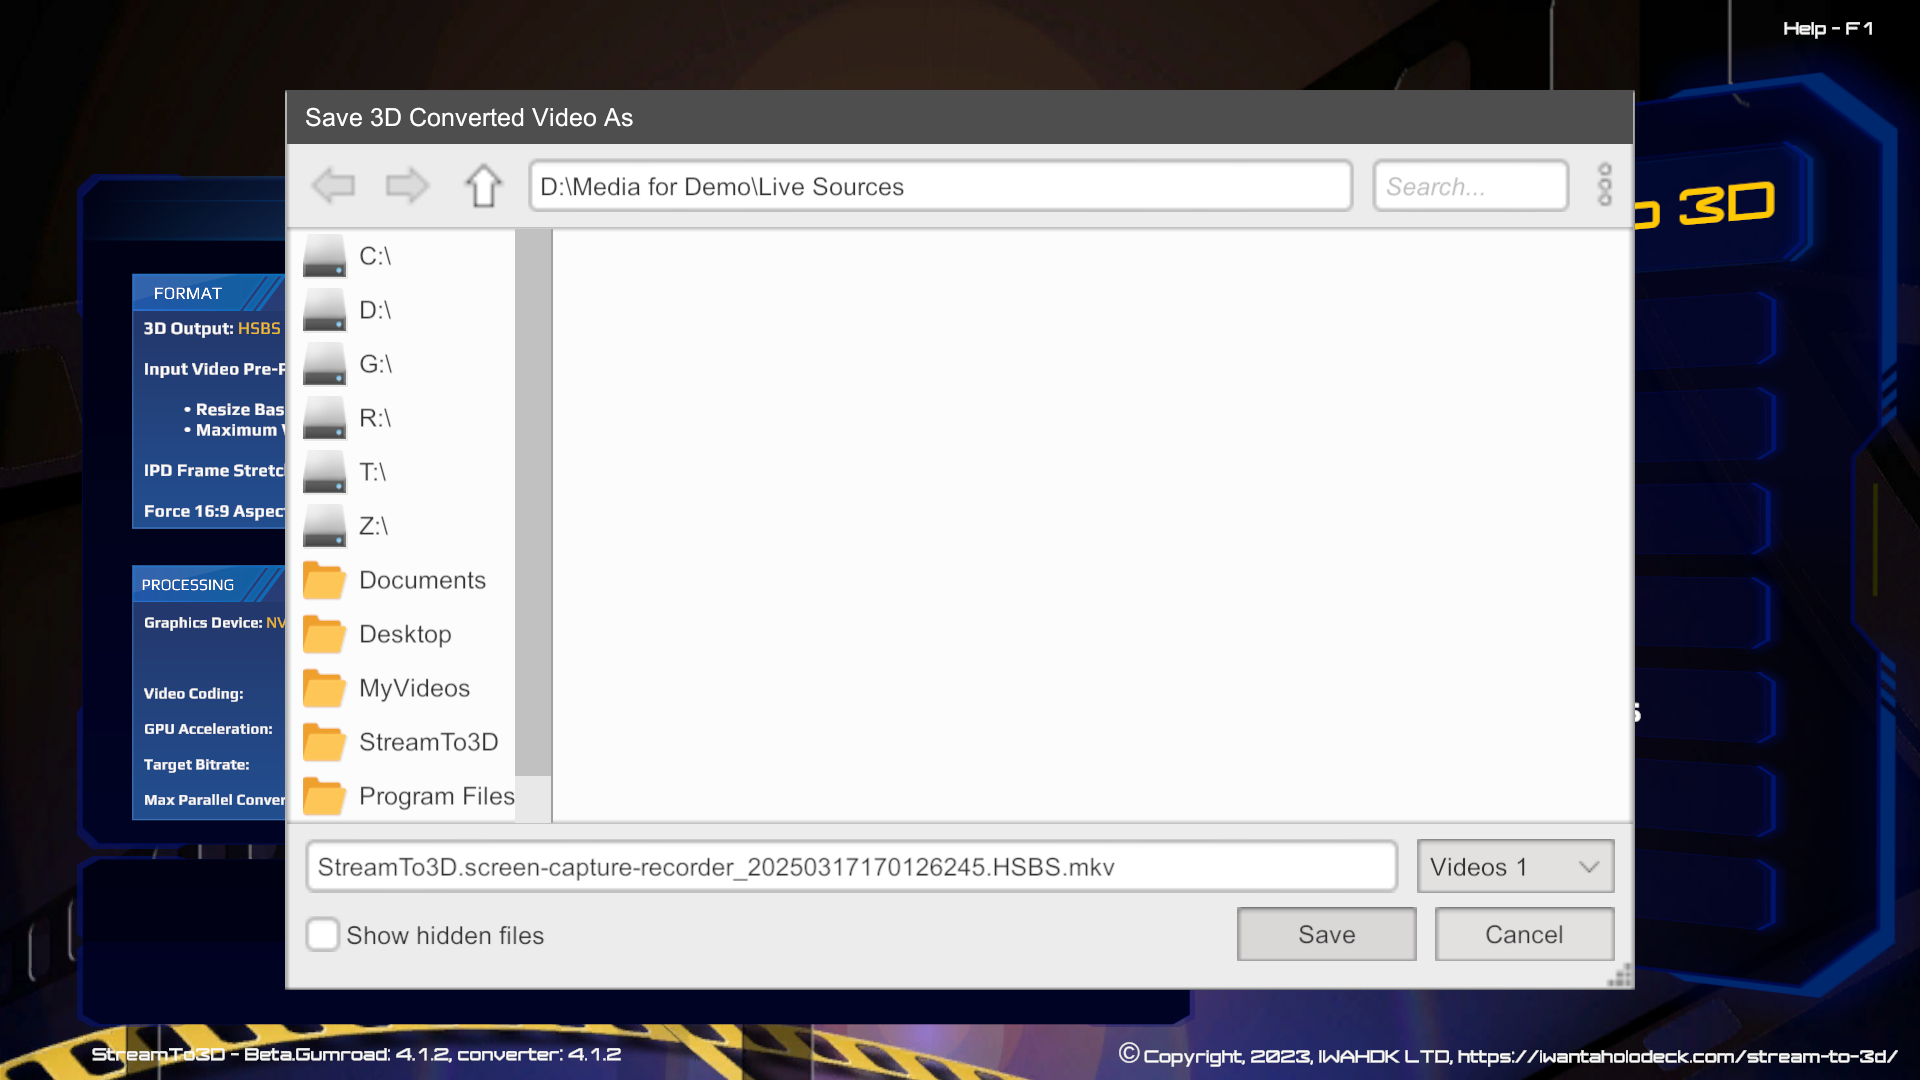
- Stream to 3D automatically includes a unique timestamp in the output filename. This ensures media players recognise the new video as distinct, preventing playback issues (such as attempting to continue playback from last known position for that file).
- By default, the main PC screen (Screen Display Index = 0) is captured. You can capture another monitor by specifying its offset index (zero-based).
- To continue, press Save, exit Full Screen mode in Stream to 3D (
Alt+Enter), and minimise the application.
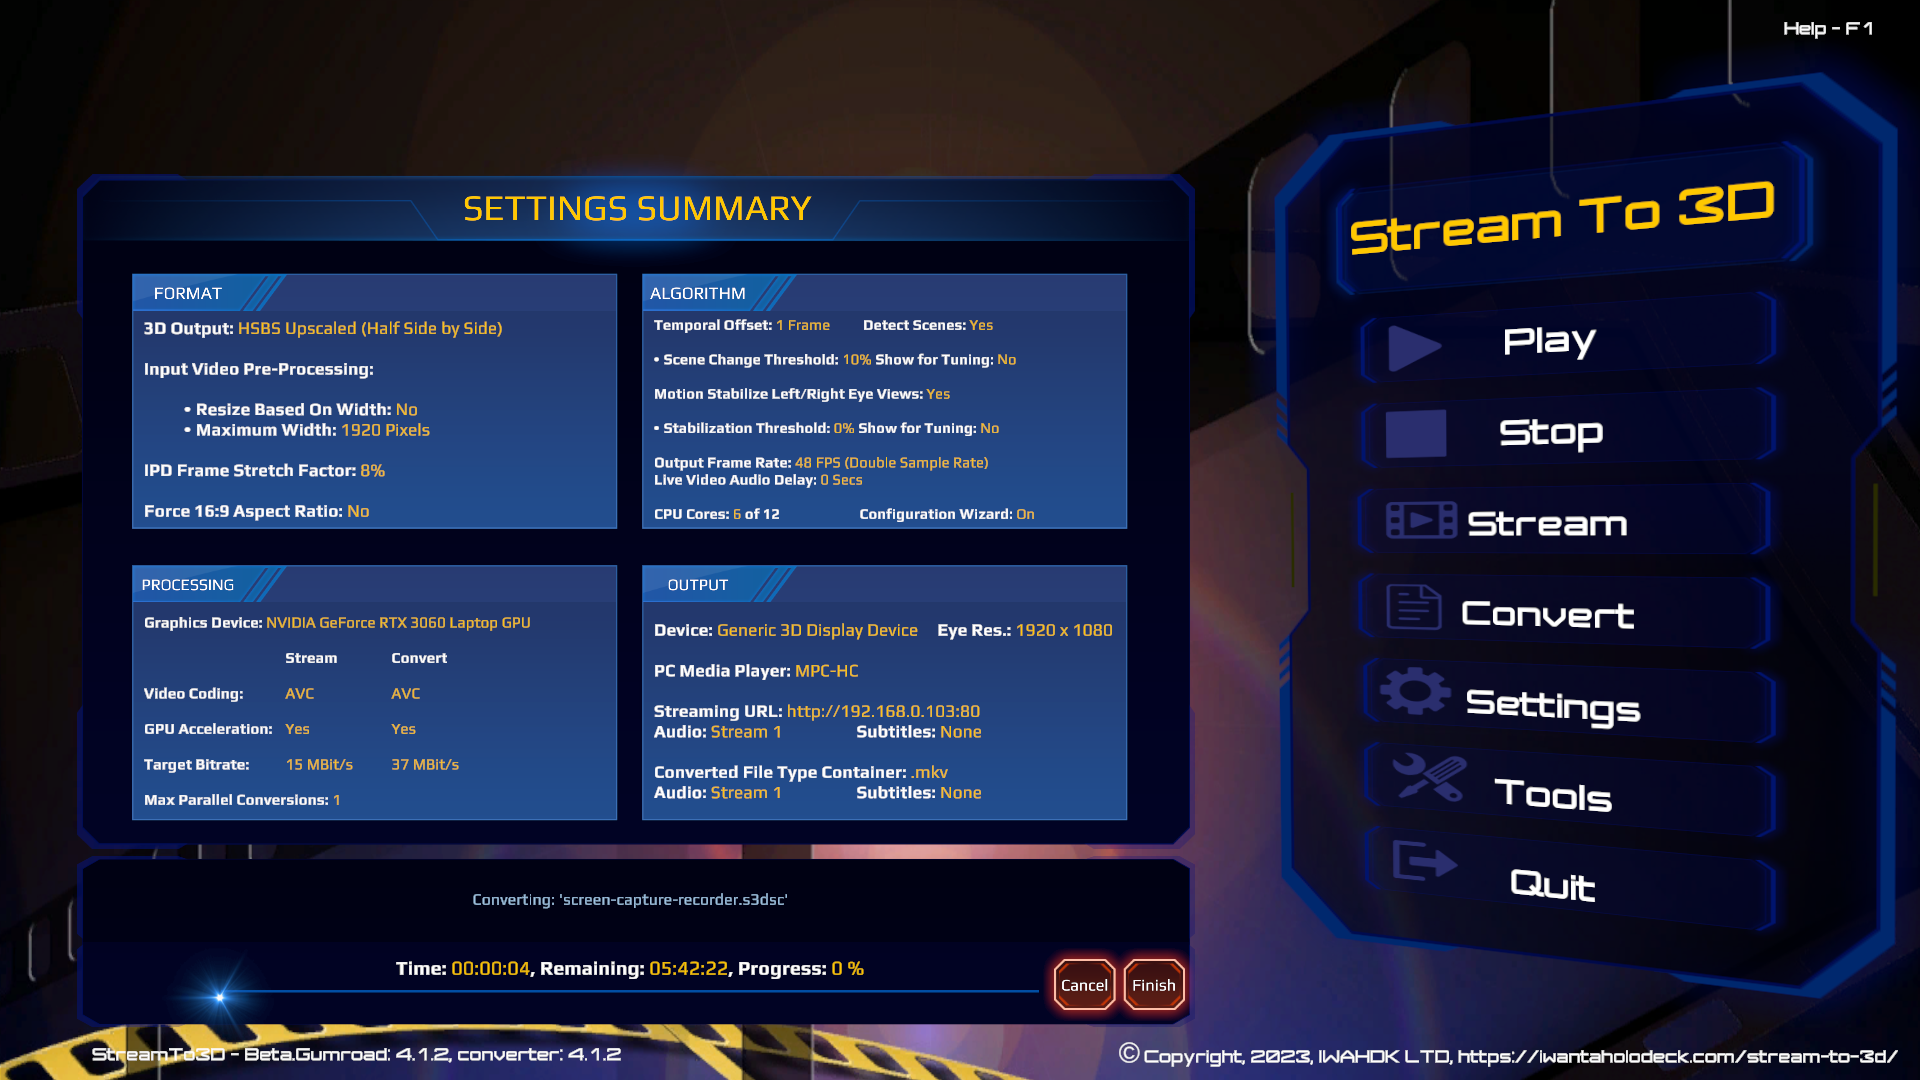
After your desired capture period, you can return to Stream to 3D, which will show progress as below. The Finish button will allow you to complete video capture and conversion at a convenient point and play the resulting video:
Performance Considerations
Near real-time conversion performance depends heavily on hardware capability, video resolution, and frame rate. Adjust settings appropriately based on your system’s capacity.
Click here to go to the Usage and Configuration home page.